Remix for AI-generated indoor scenes
Overview
After an indoor scene has been generated by Theo, you can adjust the interior layout using the Remix function in the Room Editor interface. This feature allows you to modify the overall arrangement, room types, and styles, making it easy to create the desired environment.
The Remix function is not available for the following room types and assets:
- Multistory buildings
- Staircases
- Four-meter doors
Entering Room Editor
-
Generate a horror indoor scene with AI.
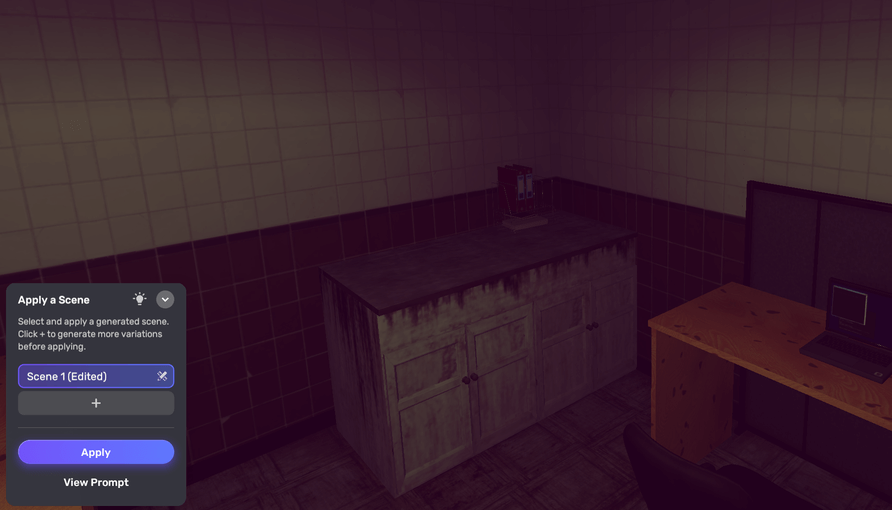
-
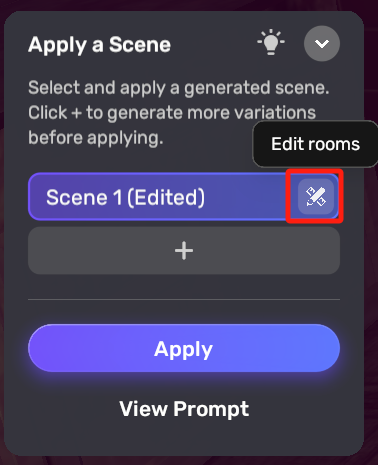
Before applying the scene, click the Edit rooms button next to it to enter the Room Editor.
Room Editor interface
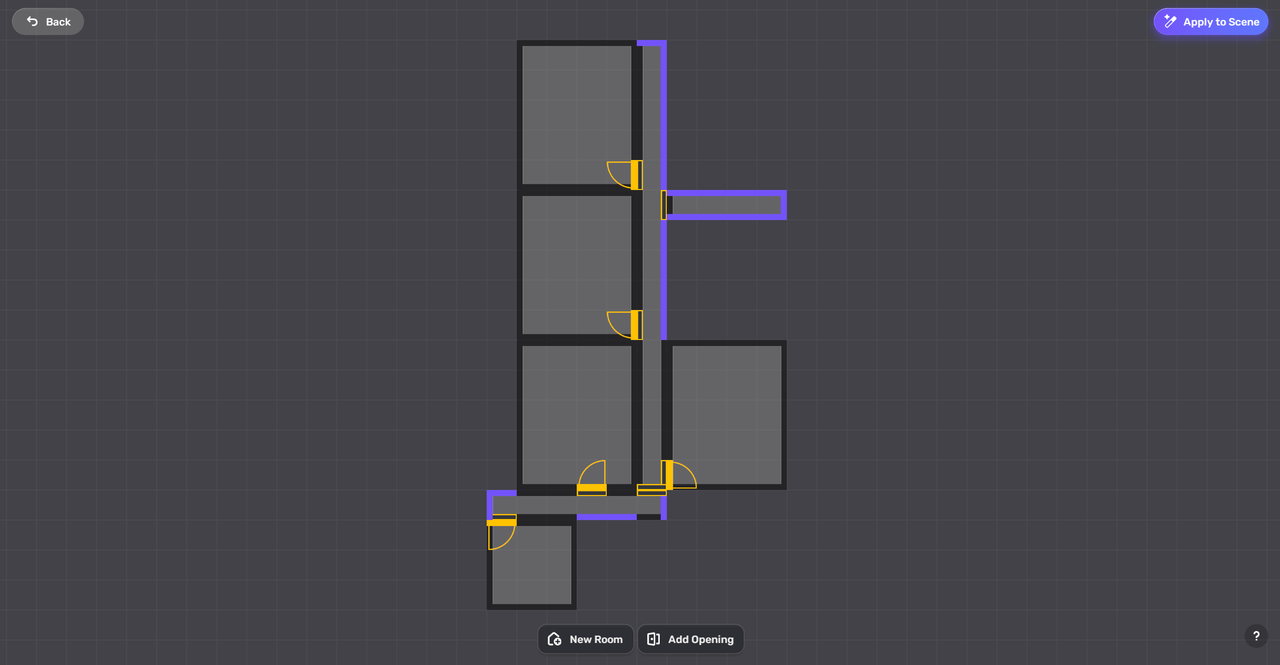
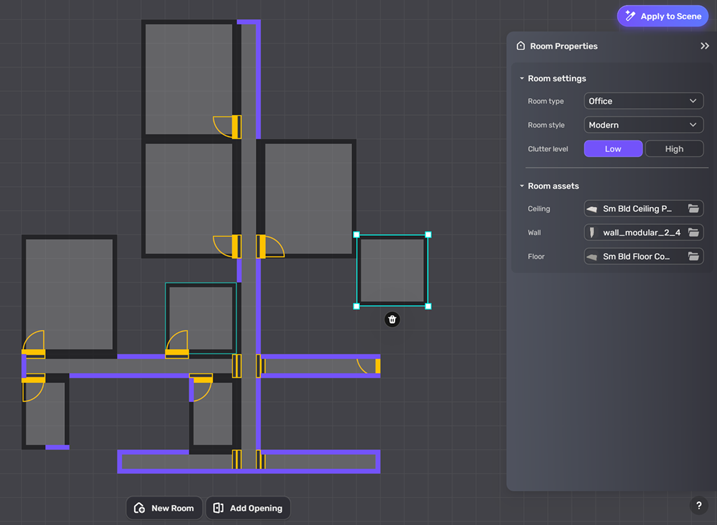
In the Room Editor interface, you'll see the graphic design of the generated interior layout. This interface displays the physical infrastructure and connectivity of rooms.
Icons
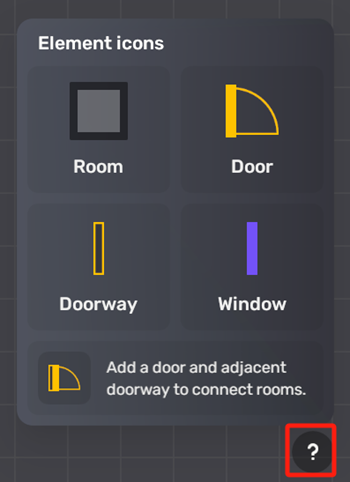
Element icons
Four element icons are available in the room editor interface: Room, Door, Doorway, and Window. You can also click the "?" icon at the bottom right corner to find the image.
Back
Clicking the Back button at the top left of the interface allows you to return to the initial scene.
Apply to scene
After clicking the Apply to Scene button at the top right of the interface, a pop-up window will appear:
- Click Cancel to return to the Room Editor interface.
- Click Apply to generate a new scene based on the modifications you've made.
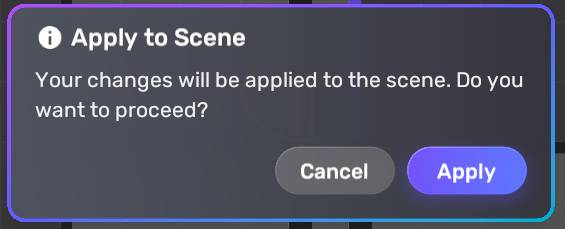
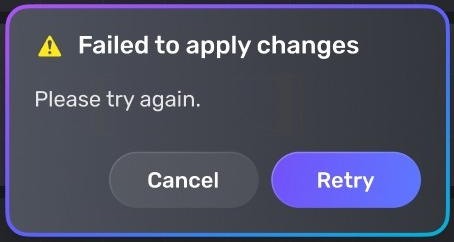
If the changes fail, another pop-up window will appear. Clicking Cancel to return to the room editor interface, or Retry to regenerate.
Screen interface
Drag the canvas by holding the right mouse button or pressing the Spacebar and using the left button.
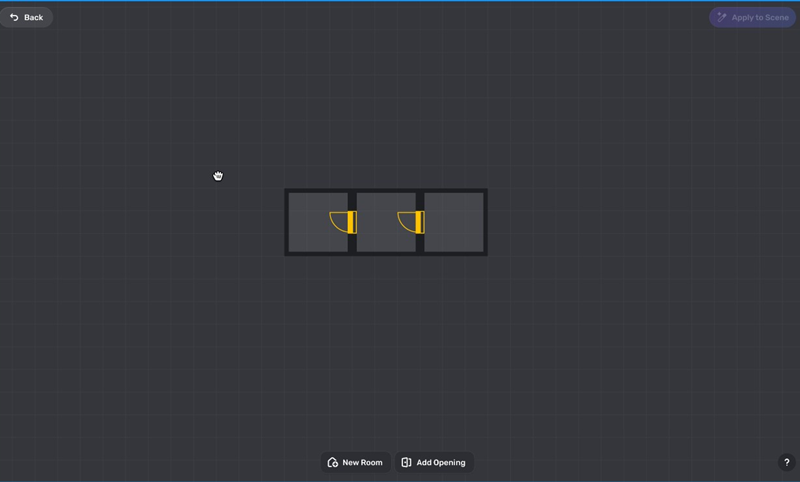
Zooming is not available in the interface.
Scene editing
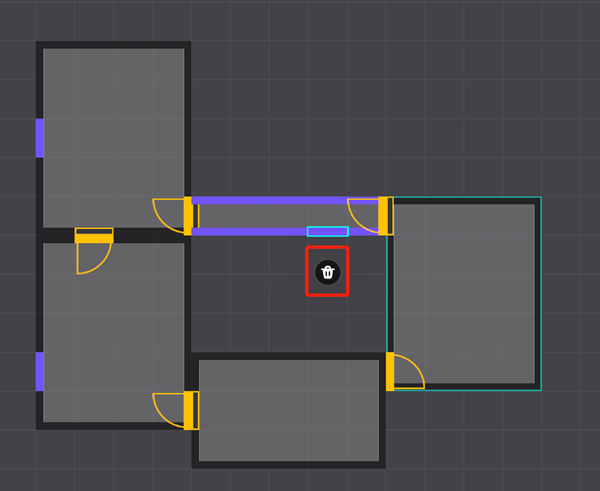
You can select any components and click the Delete icon or use the Backspace key to delete this component.
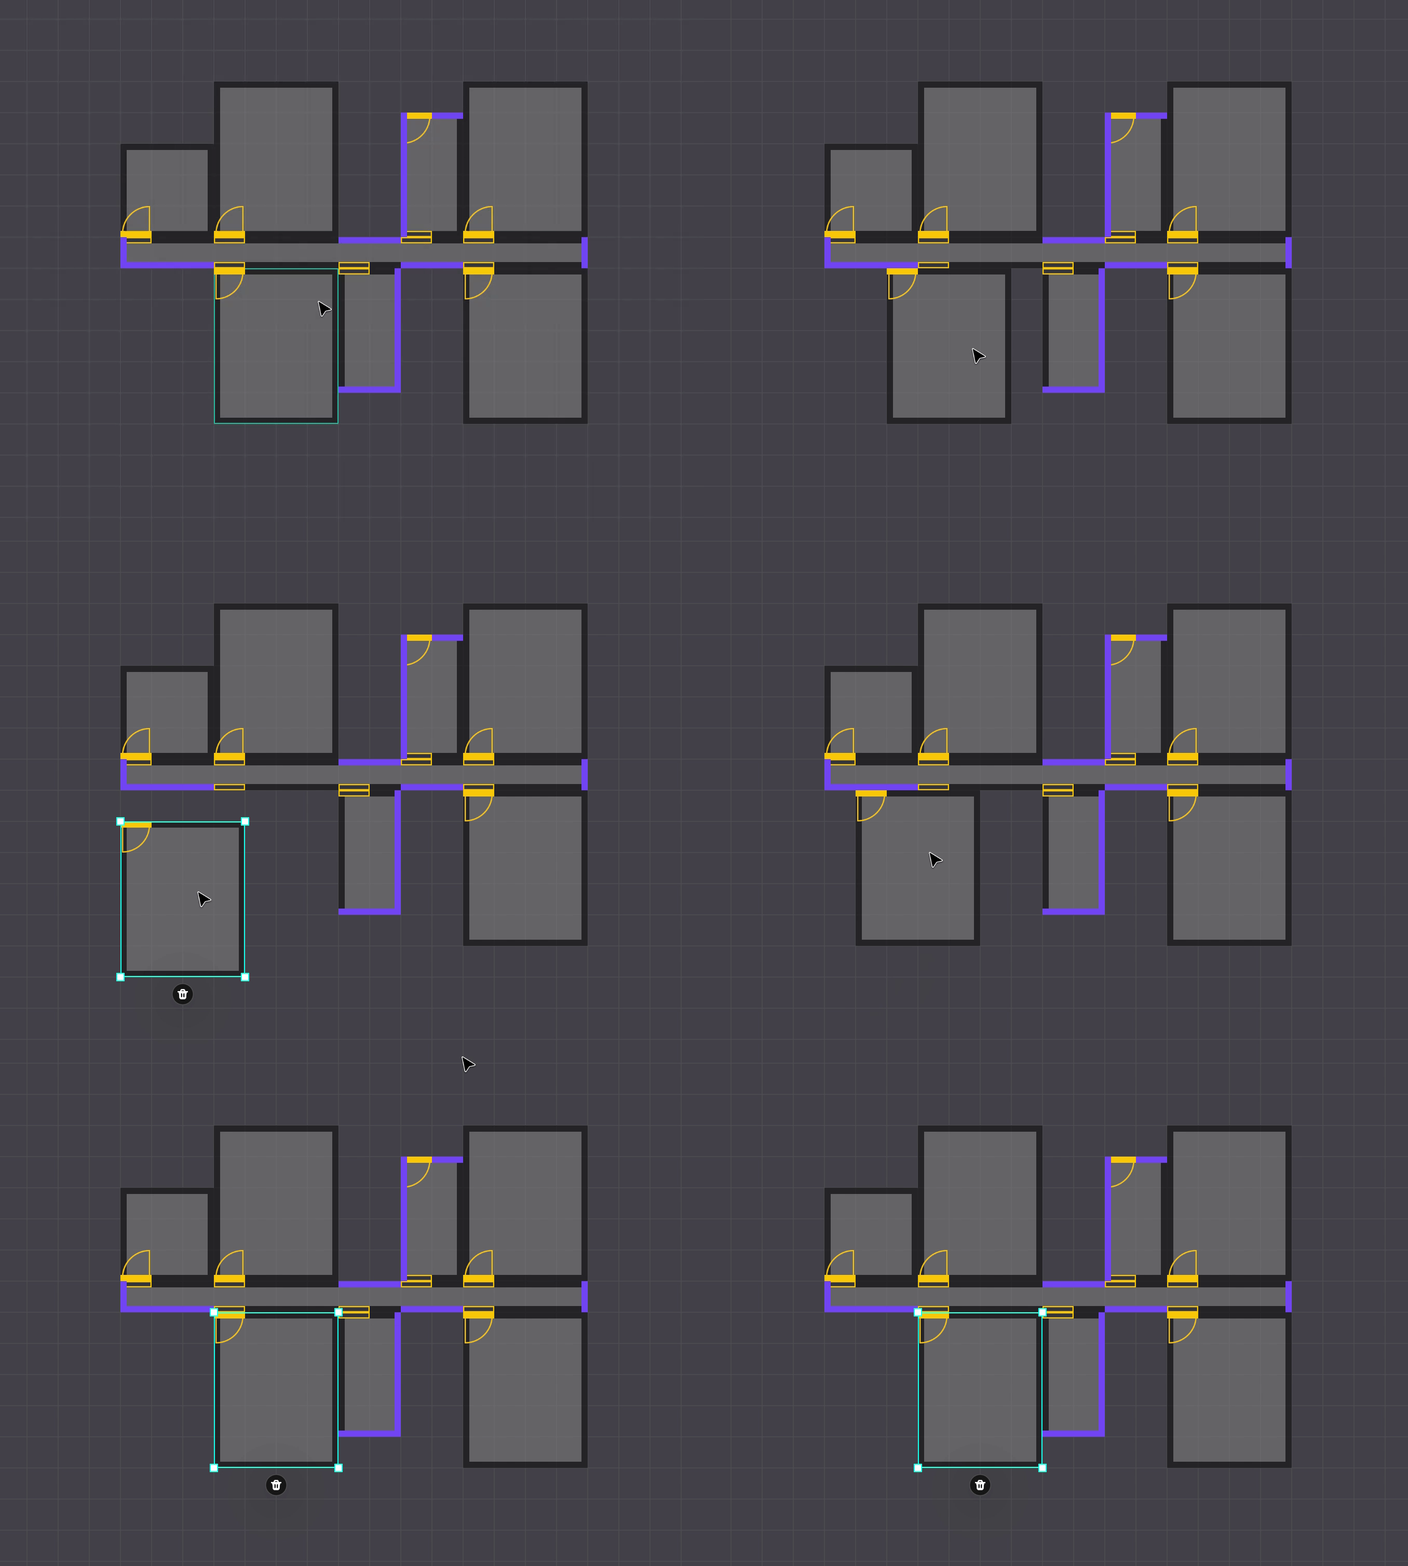
Room
Click a room and drag it to alter its position.
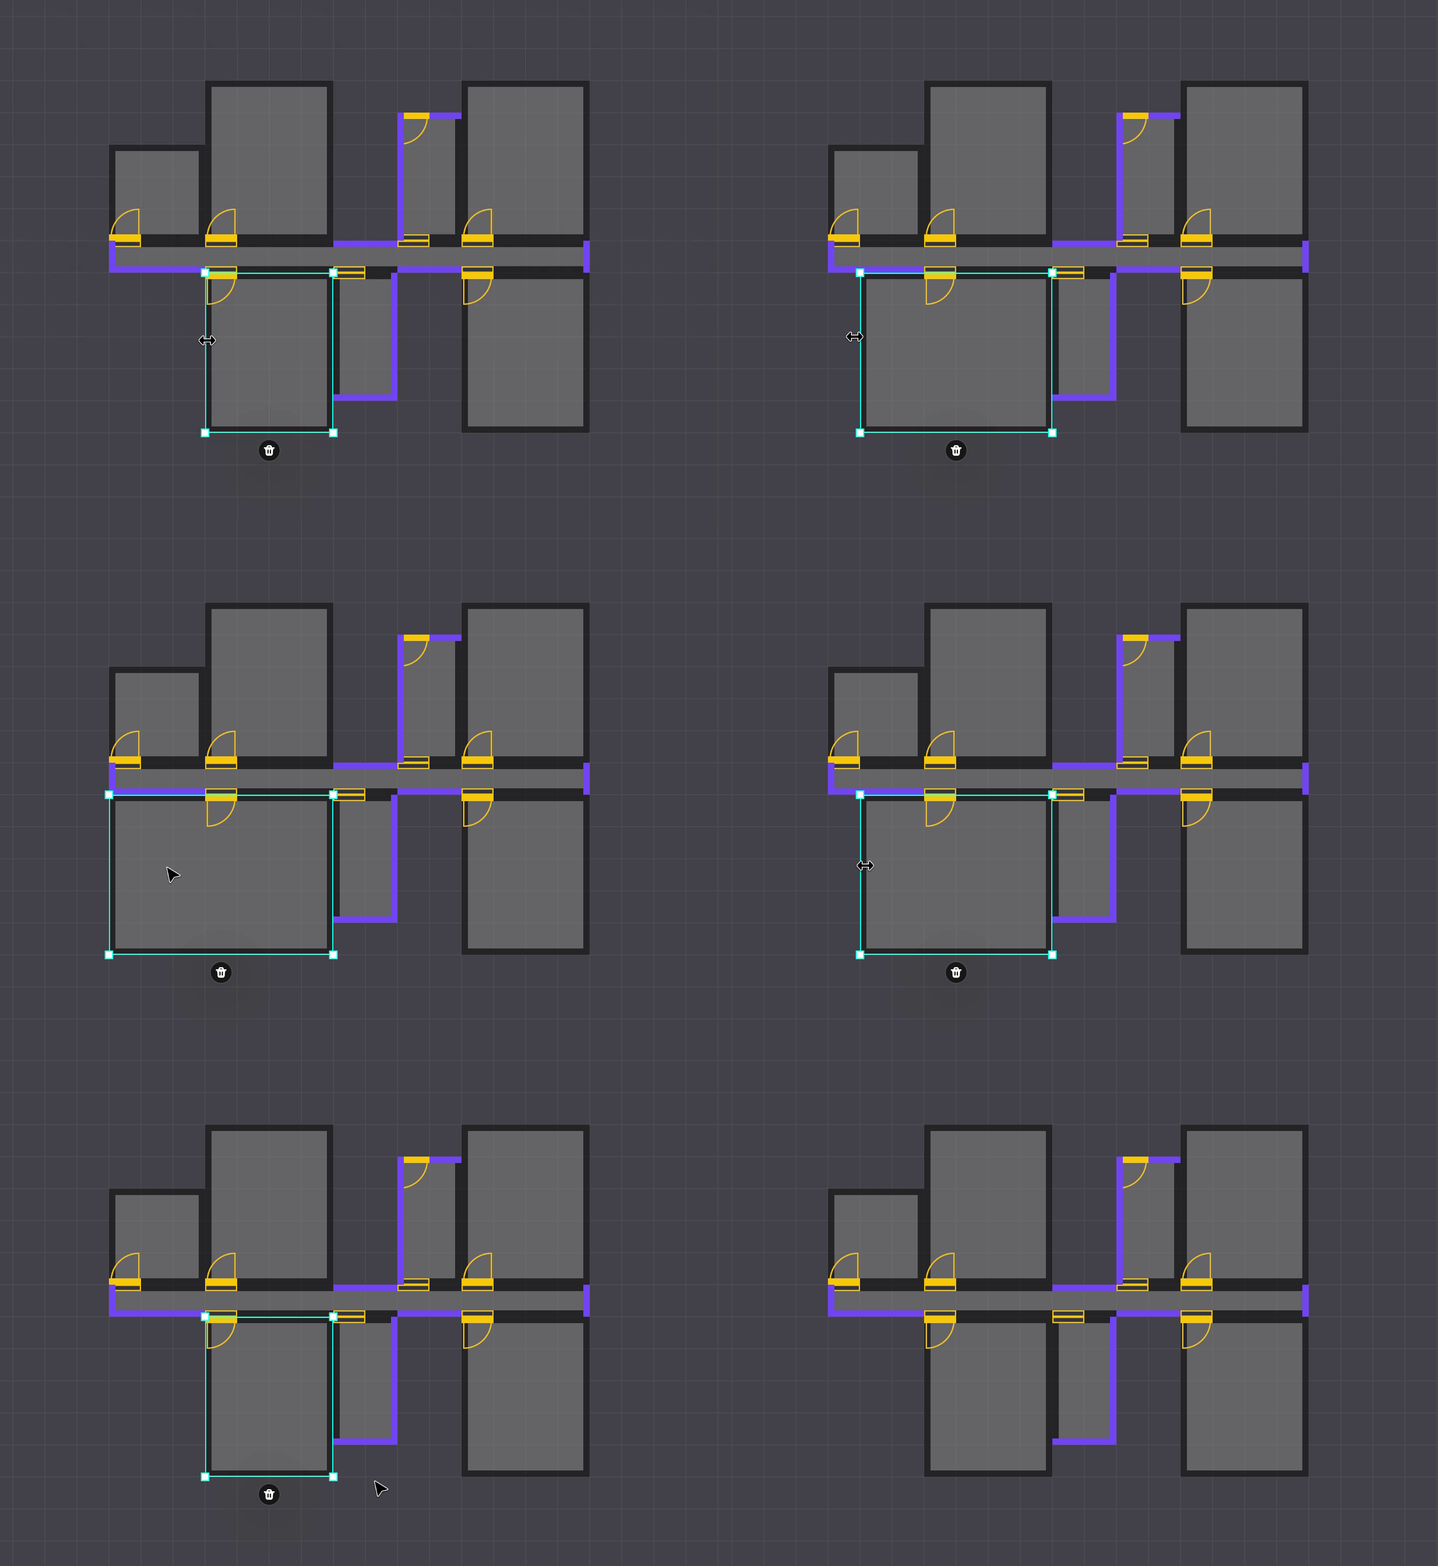
Click the edge of a room and drag it to resize the room.
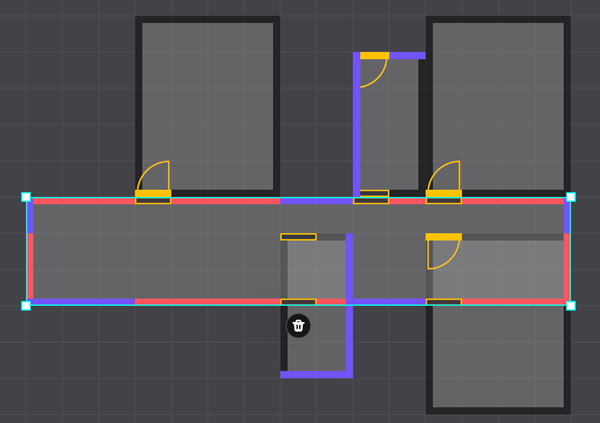
If the room's position is invalid, the room's edge will be highlighted in red. This indicates that the room cannot be placed in this position.
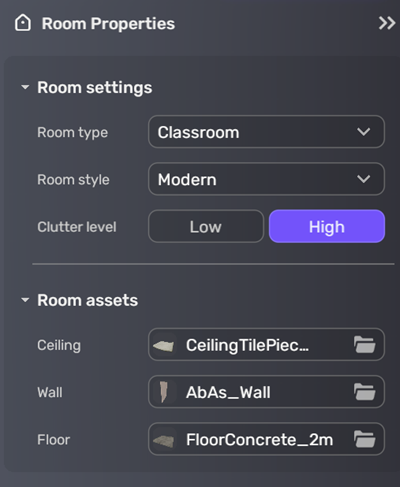
When you click a room, you can see the Room Properties window on the right side. You can easily view the room type, style, and clutter level. If you're not satisified with the assets, you can change them as well. Refer to the Add new rooms section for detailed instructions.
Door
Clicking on a door will reveal three icons around it. The icon above is for flipping it horizontally, and the icon on the left is for flipping it vertically. Drag the door to change its position. To delete it, click the icon below or use the Backspace key.
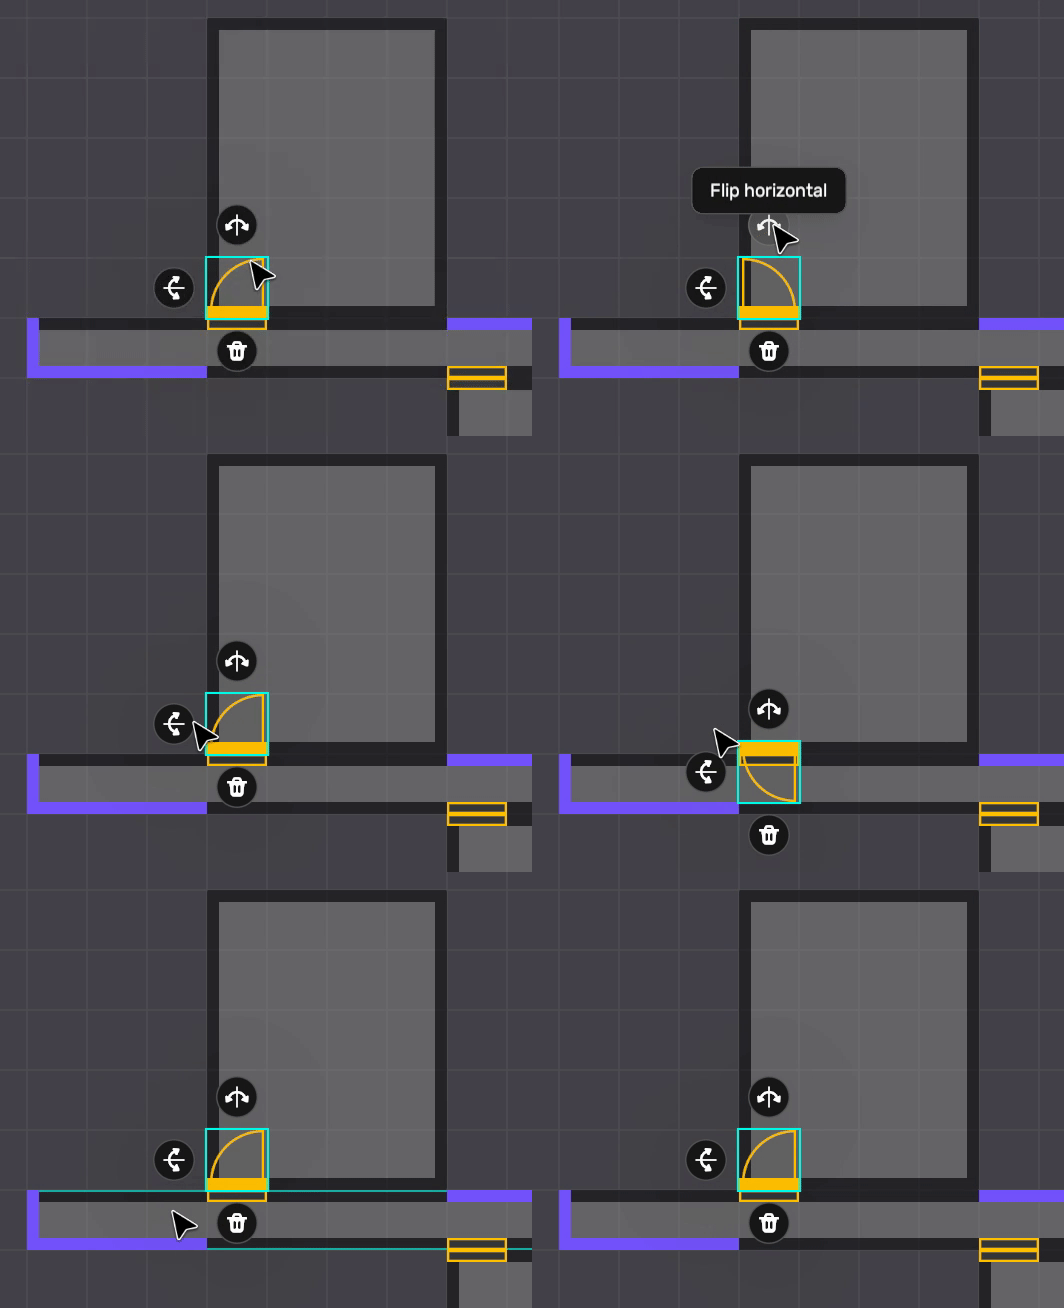
Doors can only be placed against walls and cannot overlap with other doors, doorways, or windows. Additionally, doors are one-way only. For example, as shown in the image below, a player can pass through the door from A to B, but not from B to A. If you want a two-way door, place doors on both sides.
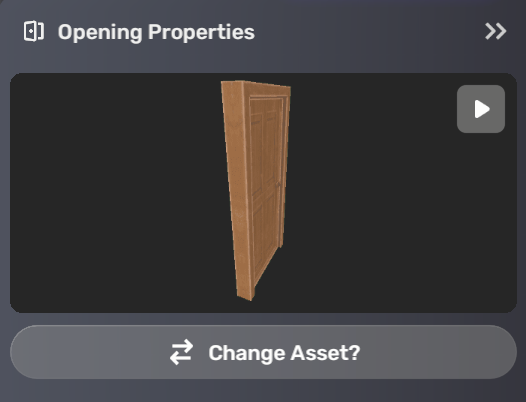
When you click on a door, you'll see its Properties window on the right side. This window allows you to change the door's appearance easily. Click Change Asset to select your desired door asset.
Doorway
Click and place the doorway against the wall to create a passage for the player. Doorways, like doors, cannot overlap with other assets. A Delete icon will appear when you click on the doorway.
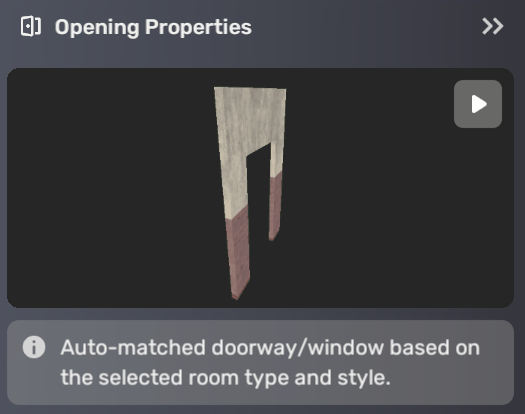
Since creating a doorway involves creating an opening in the wall, it has no physical entity. You can preview the doorway's effect, but you cannot change its asset.
Window
Windows, similar to doorways, can only be placed against walls and must not overlap with other assets. To delete a selected window, click the icon shown in the following image.
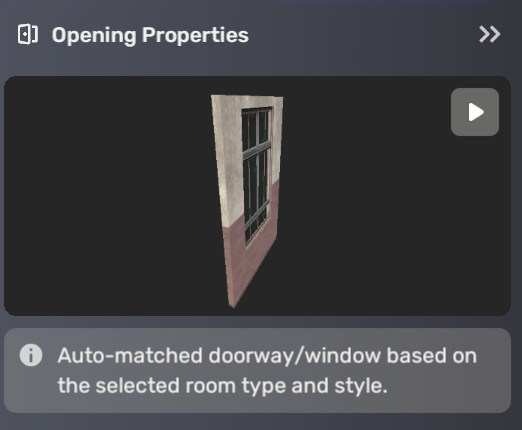
Please note that window assets are automatically matched based on the selected room type and style, so you can only preview their effect and cannot manually change the window asset.
Add new assets
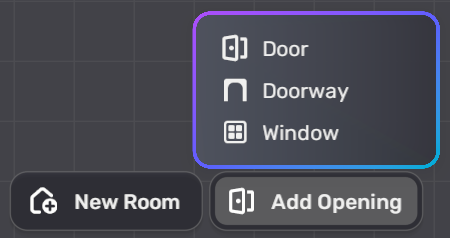
To create a new room, click the New Room button at the bottom of the Room Editor interface. To add doors, doorways, or windows, click the Add Opening button.

Add new rooms
-
Click the New Room icon, and a pop-up window will appear.
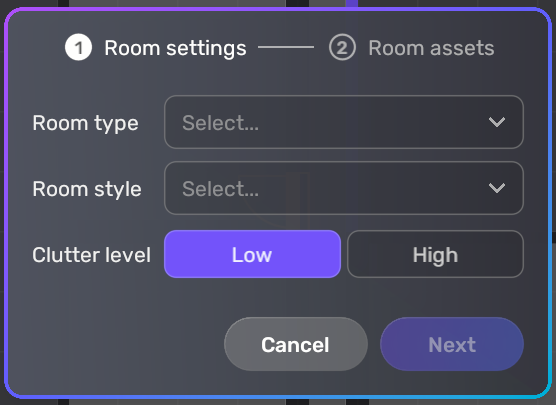
| Property | Description |
|---|---|
| Room type | Select the type of room you'd like to add, including Study Room, Restroom, Office, Classroom, Bedroom, Storage Room, Kitchen, Dormitory, Living Room, SIckroom, Men's Restroom, Women's Restroom, School Corridor, Hospital Corridor, Home Corridor, Office Corridor, Corridor, and Stairwell. |
| Room style | Choose the style of room you would like to add: Modern or European. |
| Clutter level | Determines how messy the room is. Under the Low mode, the room will be simpler and closer to your chosen settings. In contrast, the High mode adds more elements and details to the room. |
-
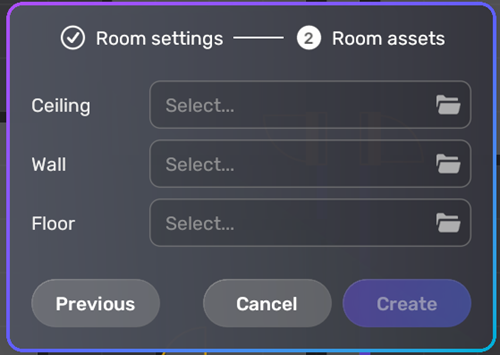
After setting up the room settings, click Next to add room assets. Select the models for the ceiling, walls, and floor from the available options, which are determined by the chosen room type and style.
-
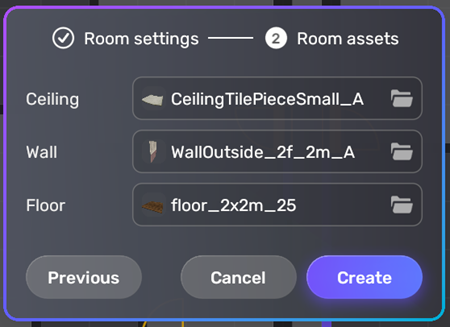
Click Create after choosing all three assets to generate a new room. Click Previous if you want to go back and change the room settings. If you don't want to create the room, click Cancel.
-
Your newly generated room will now appear on the interface! Please note that the default room size is 3x3 meters, and new rooms are placed to the right of existing ones by default.
Add opening
-
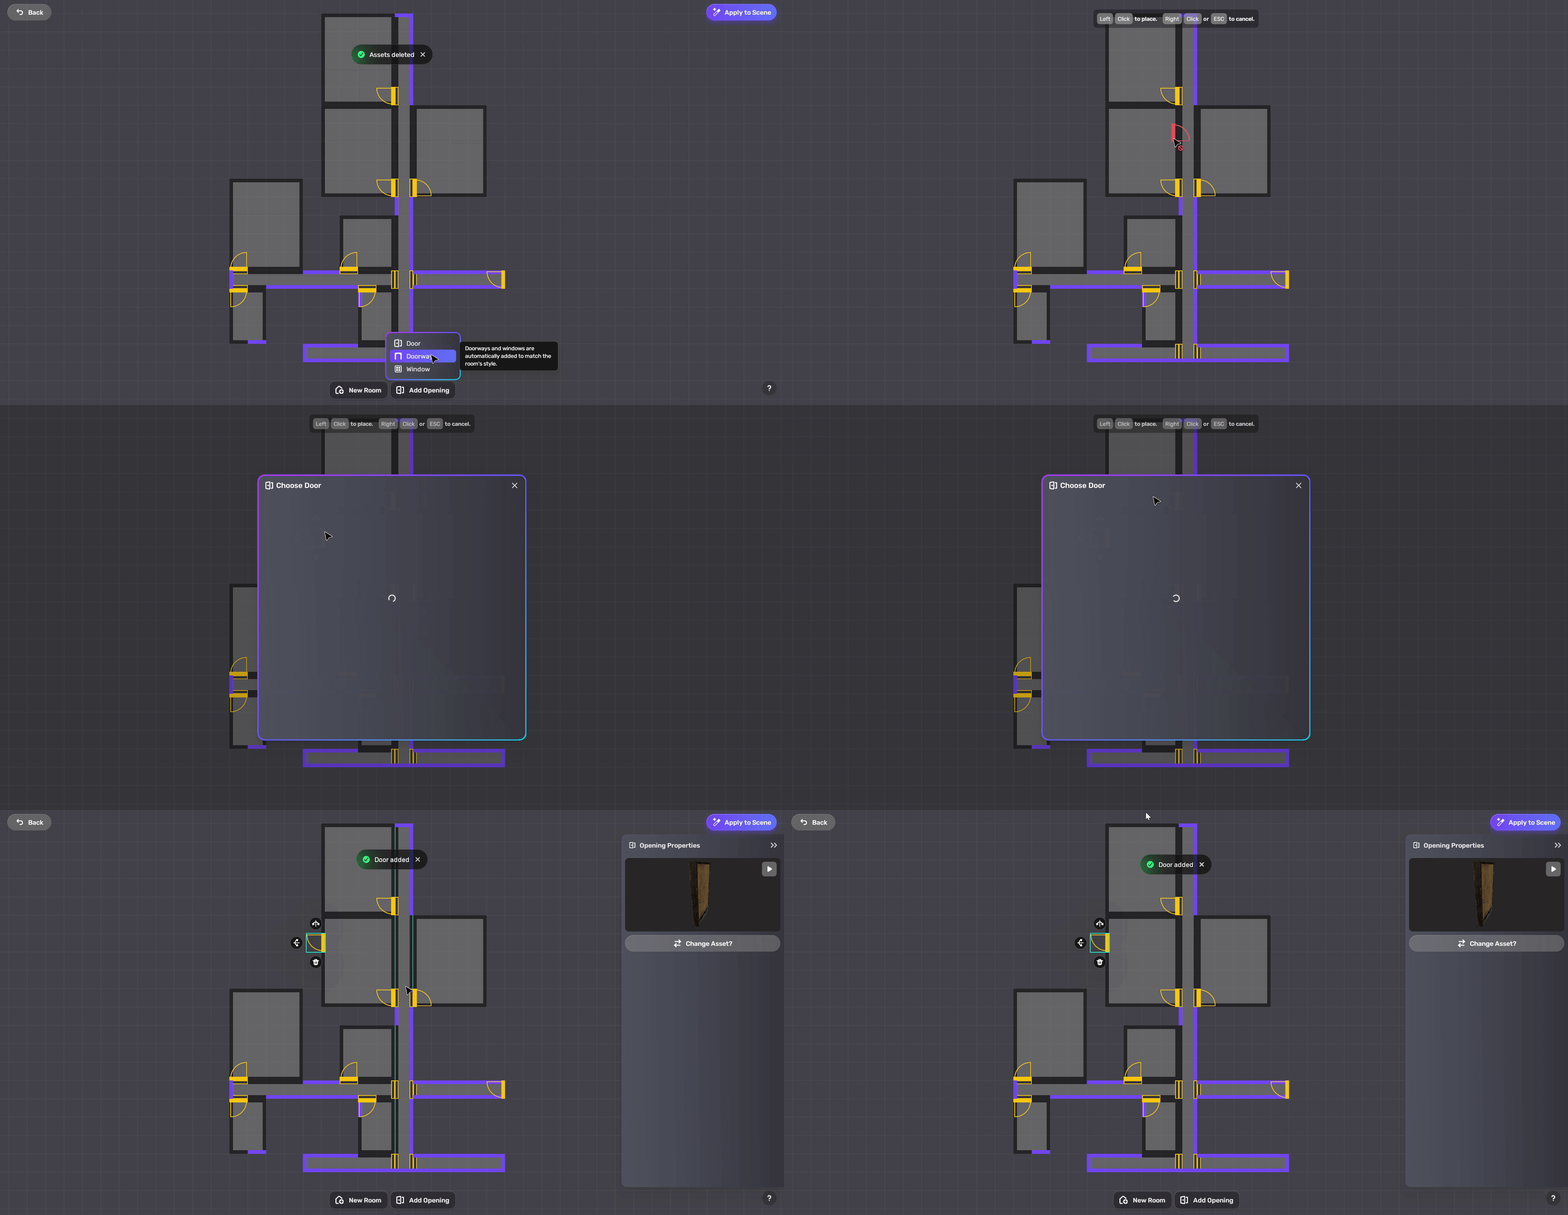
Click Add Opening to choose from three types of opening assets: doors, doorways, or windows.
-
Click the desired asset to place it on the design. The new asset will follow your mouse pointer until placed in the desired location.
