Remix for AI-generated indoor scenes
Overview
After an indoor scene has been generated by Theo, you can adjust the layout by using the Remix function in the Room Editor interface. This feature allows you to modify the overall arrangement, room types, and styles, making it easy to create the desired environment.
The Remix function is compatible with multistory buildings now.
Enter the Room Editor
-
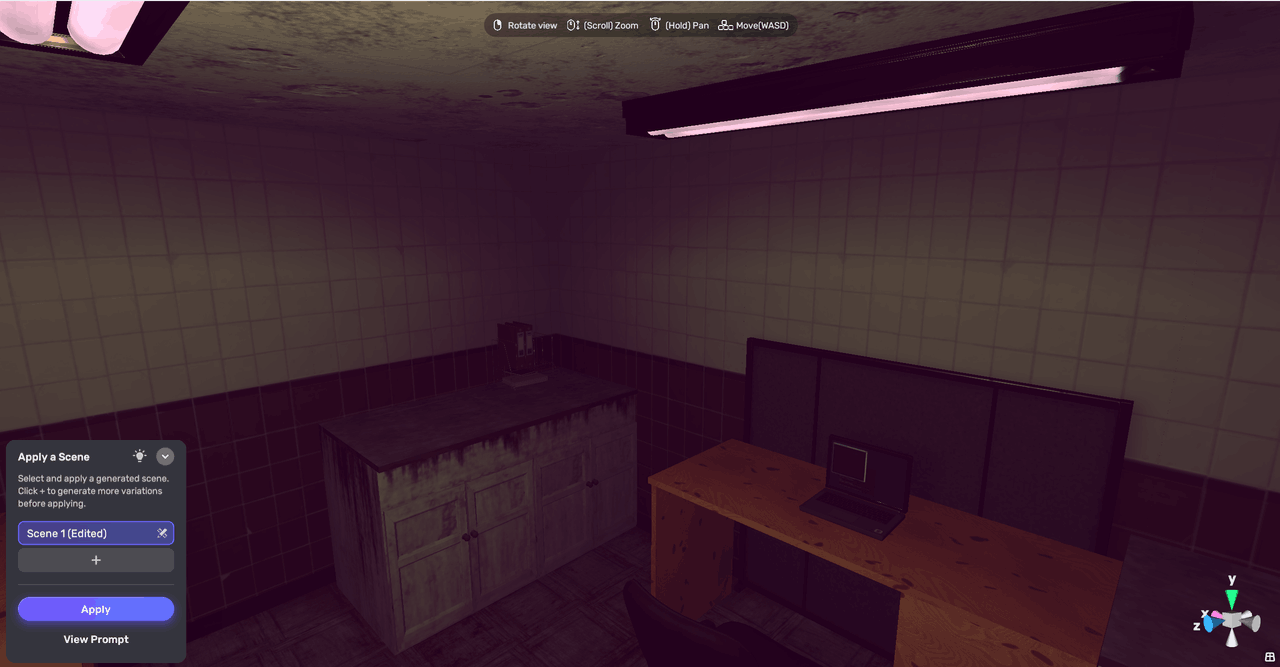
Generate a horror indoor scene with AI.
-
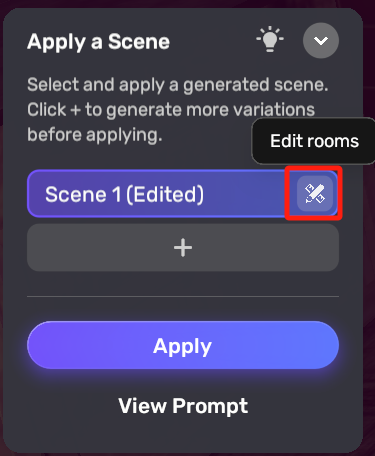
In the window in the bottom left corner, click the Edit rooms icon next to the scene name to enter the Room Editor interface.
Room Editor interface
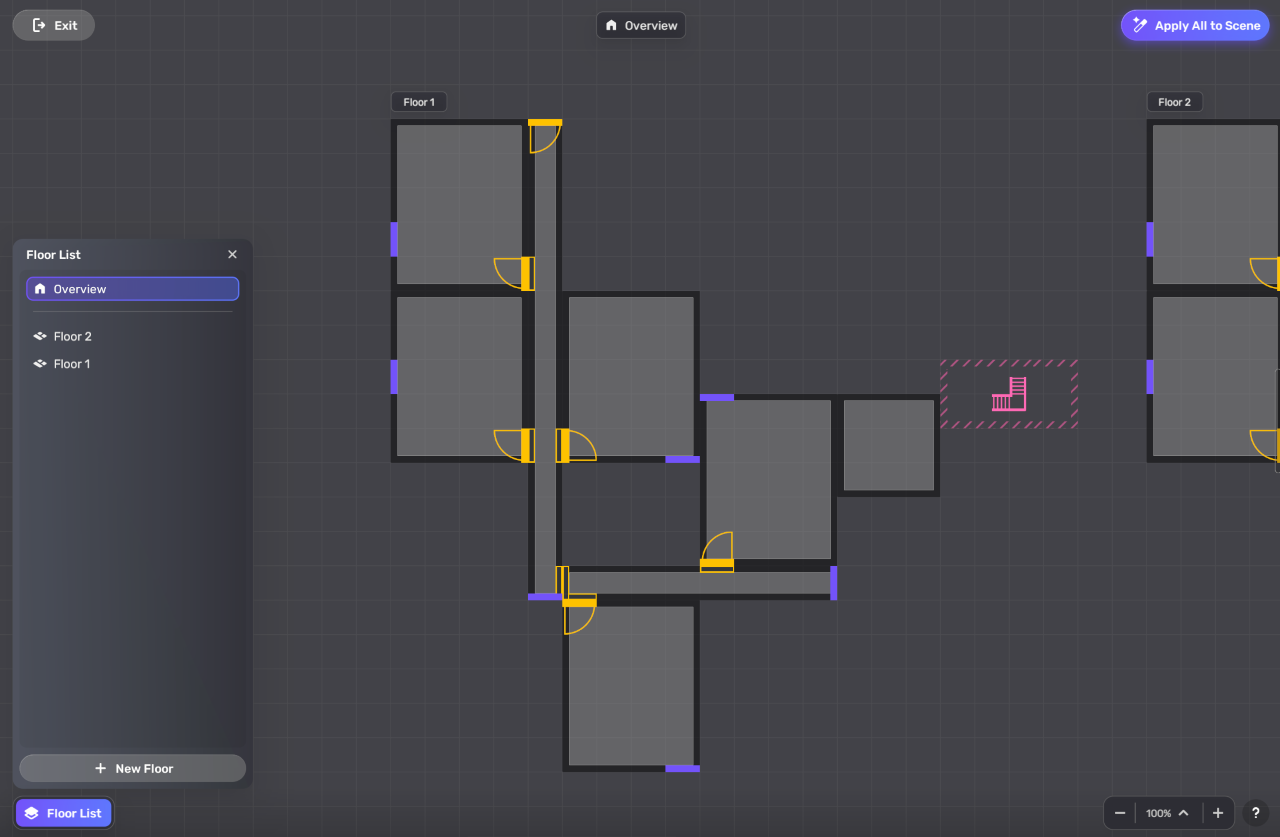
In the Room Editor interface, you'll see the graphic layout of the generated indoor scene.
Icons
Floor List
In the bottom left corner, there is a Floor List icon. Click it to show and add floors.
Element icons
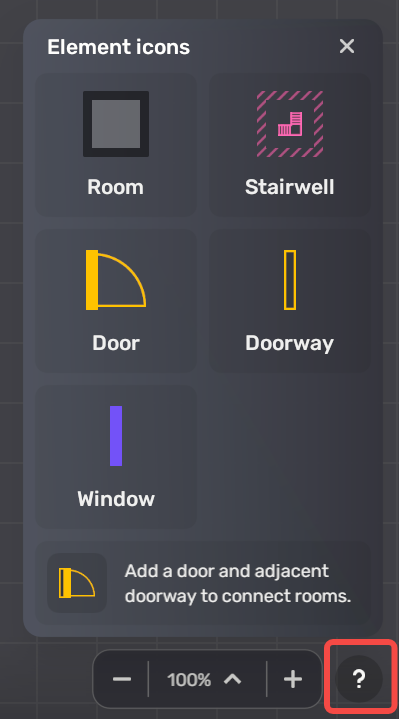
In the bottom right corner, click the ? icon to see the element icon introduction. Five element icons are available in the room editor interface: Room, Stairwell, Door, Doorway, and Window.
Exit
Click the Exit button in the top left corner of the interface to return to the preview mode.
Apply to scene
After editing, click Apply All to Scene at the top right of the interface.

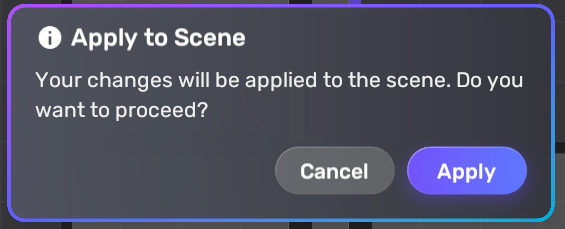
Then, a pop-up window will appear:
- Click Cancel to return to the Room Editor interface.
- Click Apply to generate a new scene based on the modifications you've made.
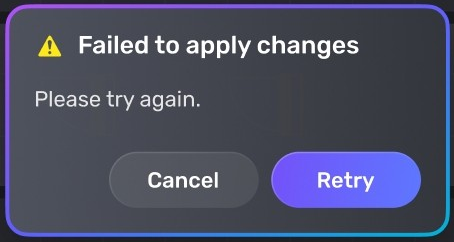
If the changes fail, another pop-up window will appear. Clicking Cancel to return to the room editor interface, or Retry to regenerate.
Screen control
Drag the canvas by holding the right mouse button or pressing the Spacebar and using the left button.
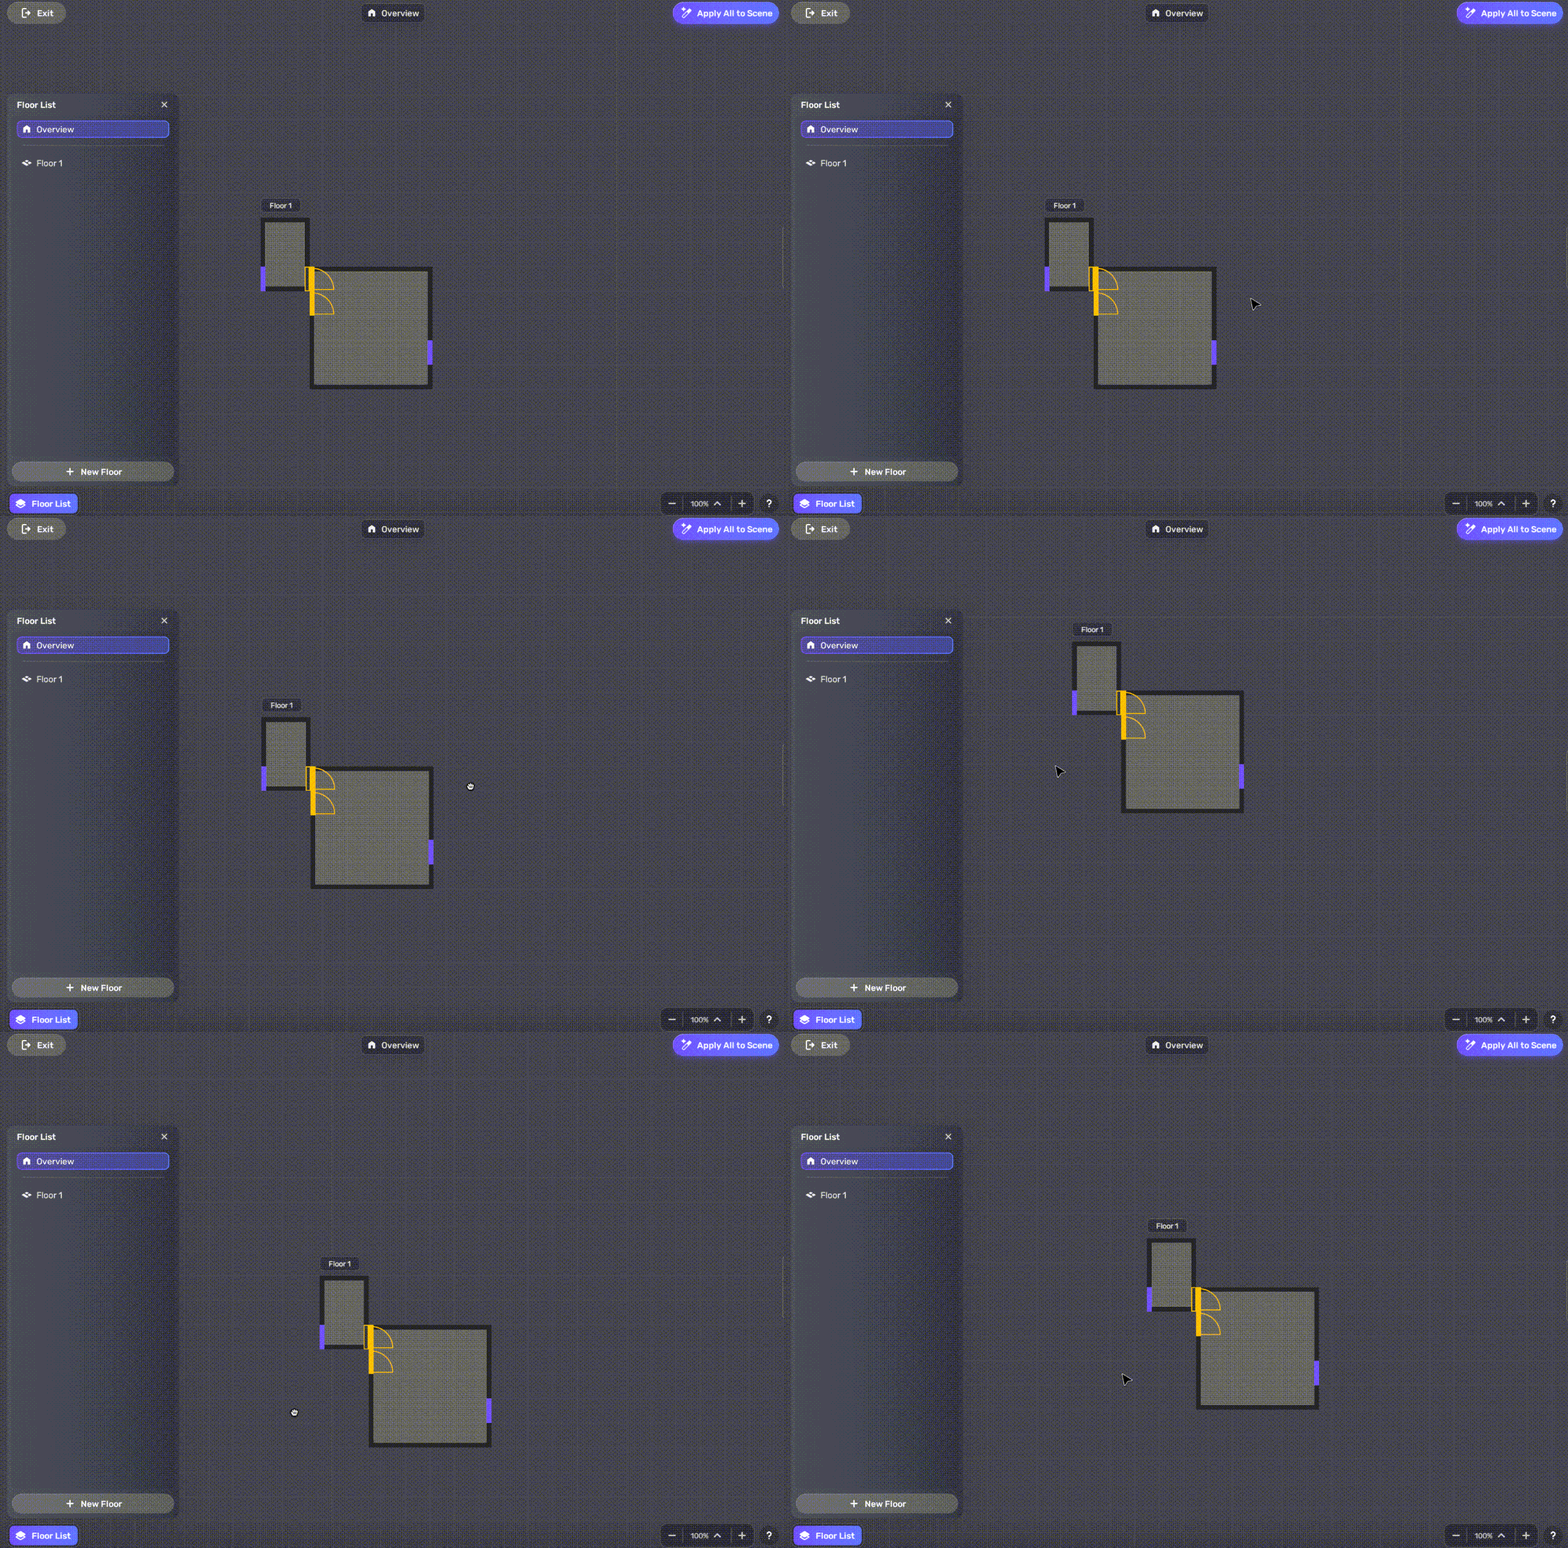
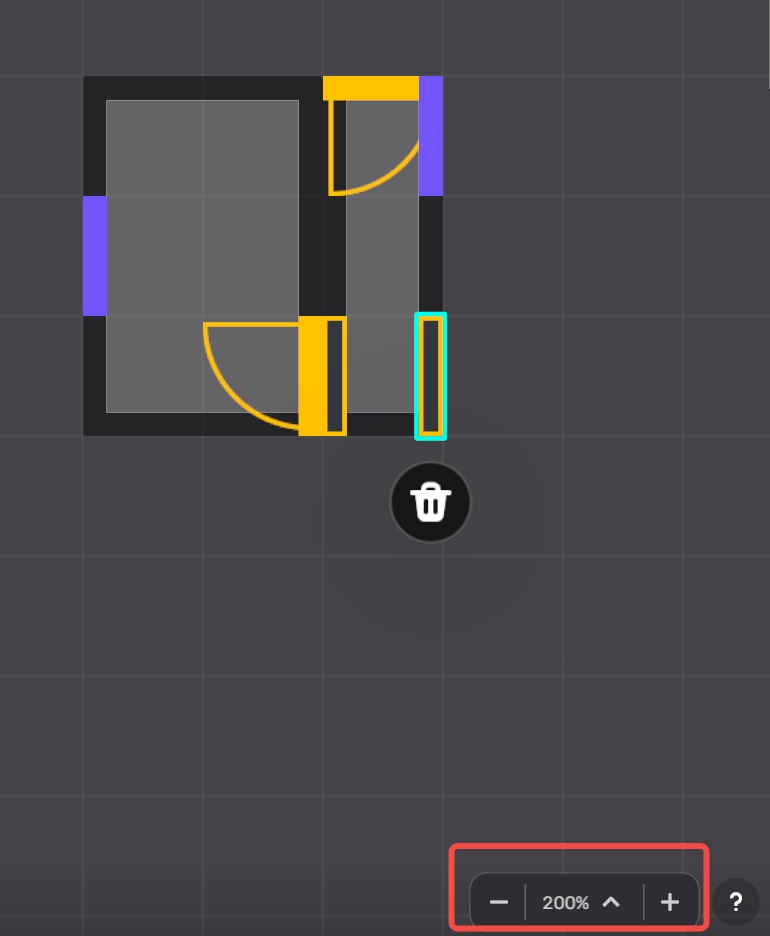
Zoom in and out using the control in the bottom right corner. Press Ctrl + 0 to return to the 100% view.
Scene editing
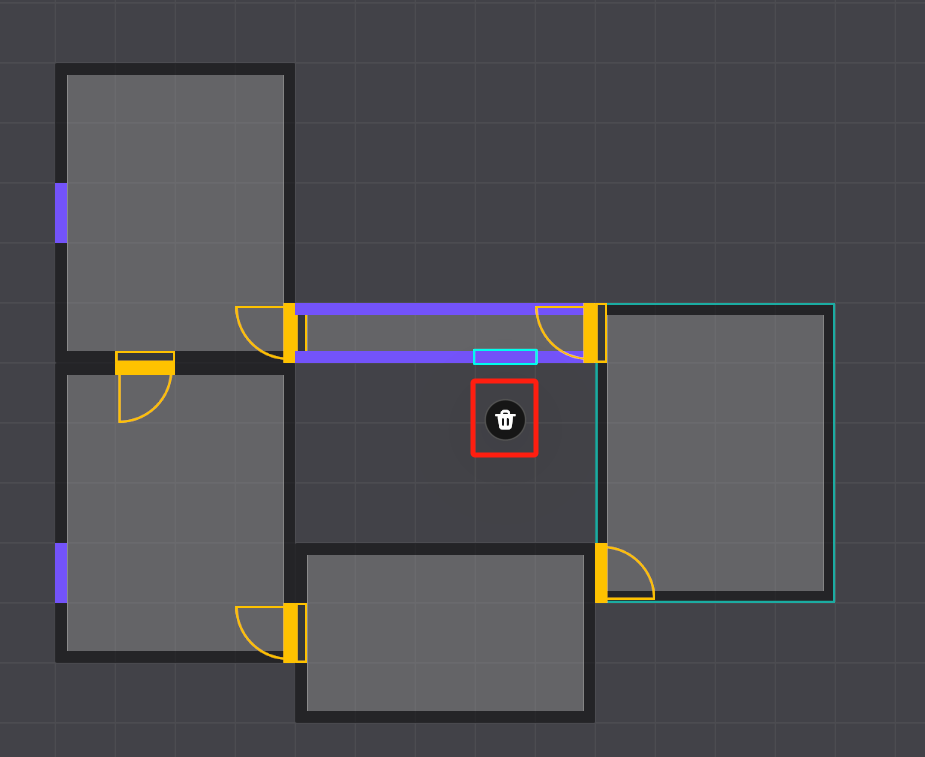
To delete a component, select it and click the Delete icon or press Backspace.
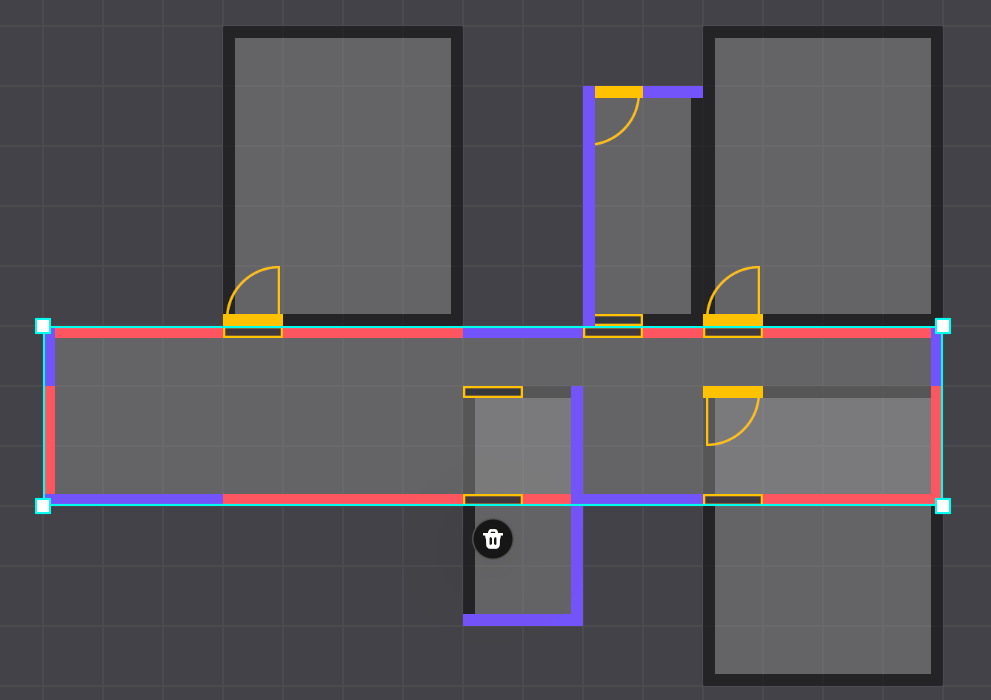
If the edge of a room or an asset is highlighted in red, it means the room or the asset cannot be placed as the position is invalid.
Room
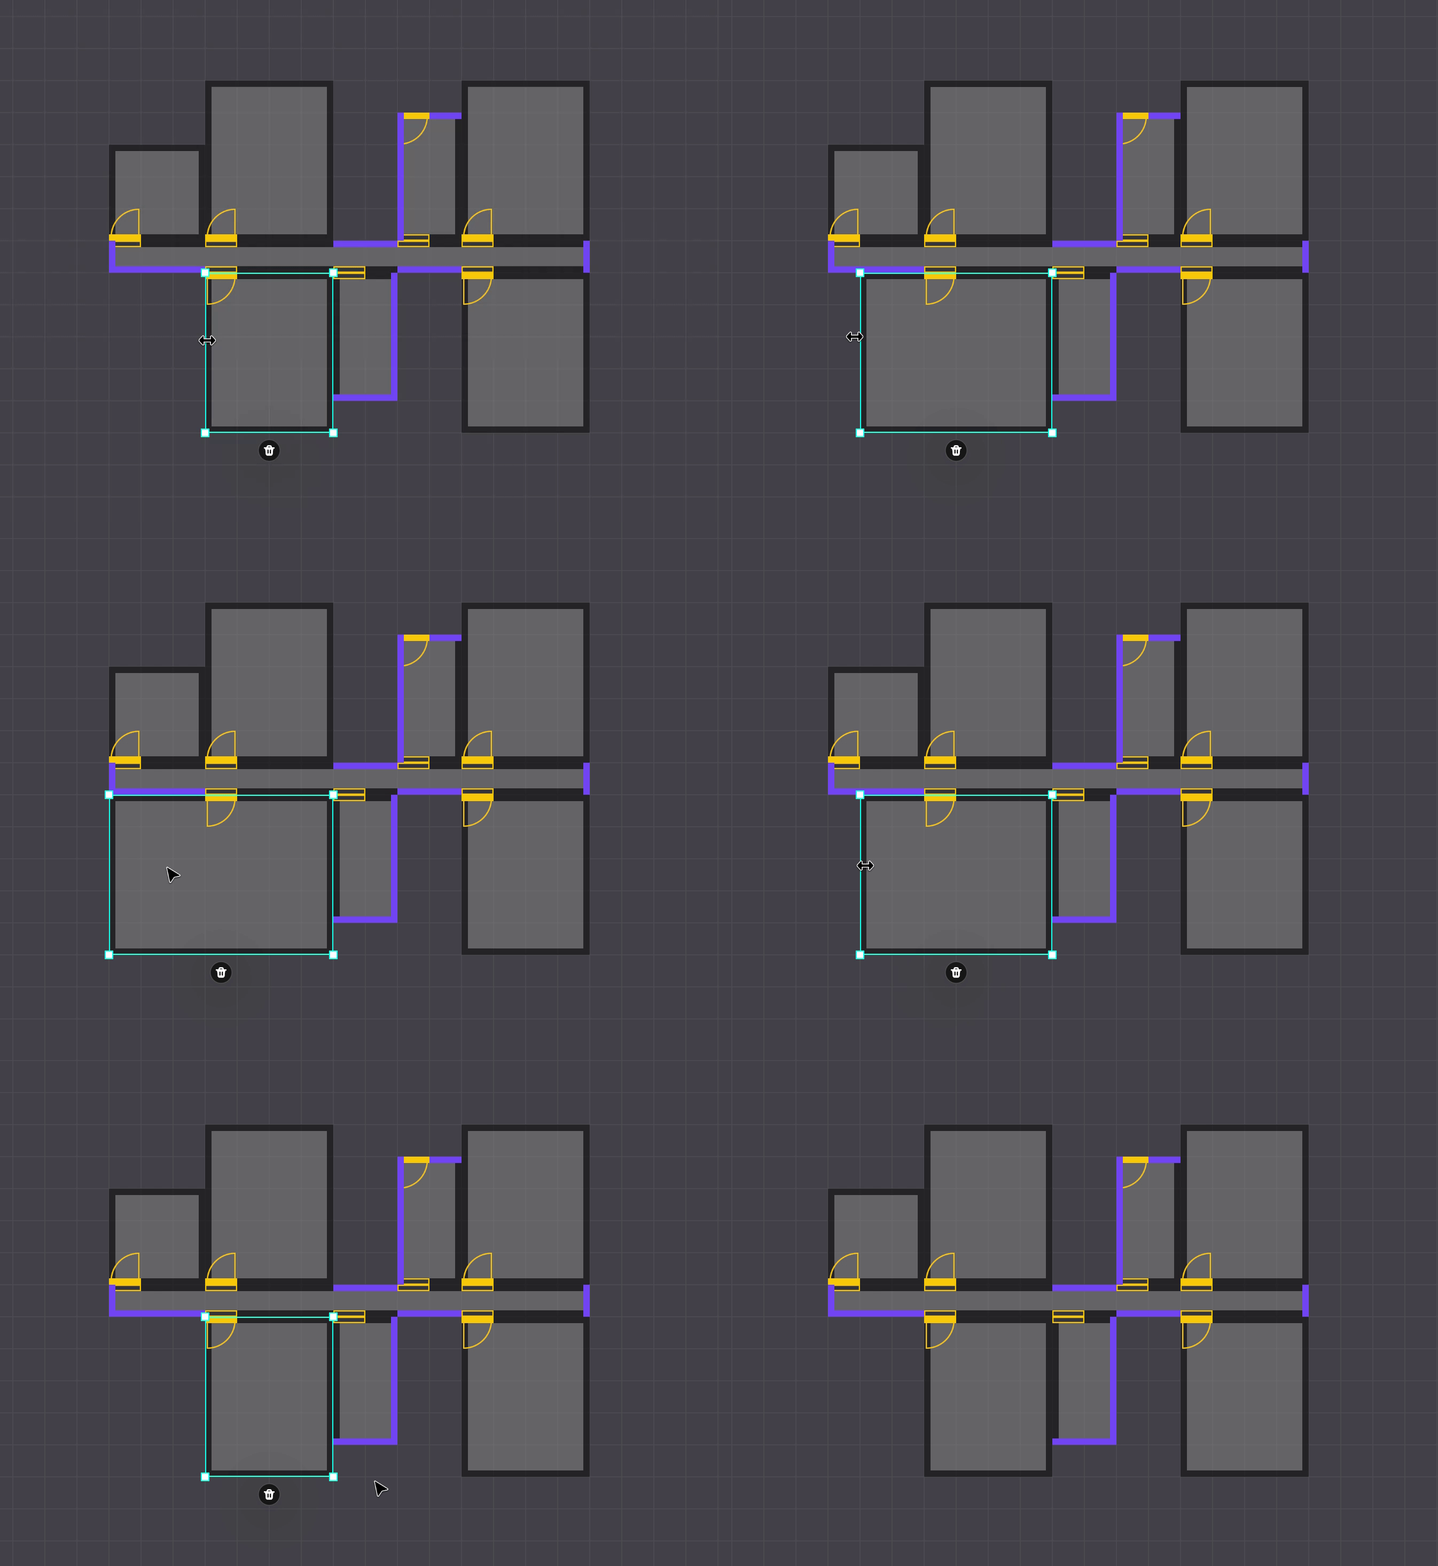
Click a room and drag it to alter its position.
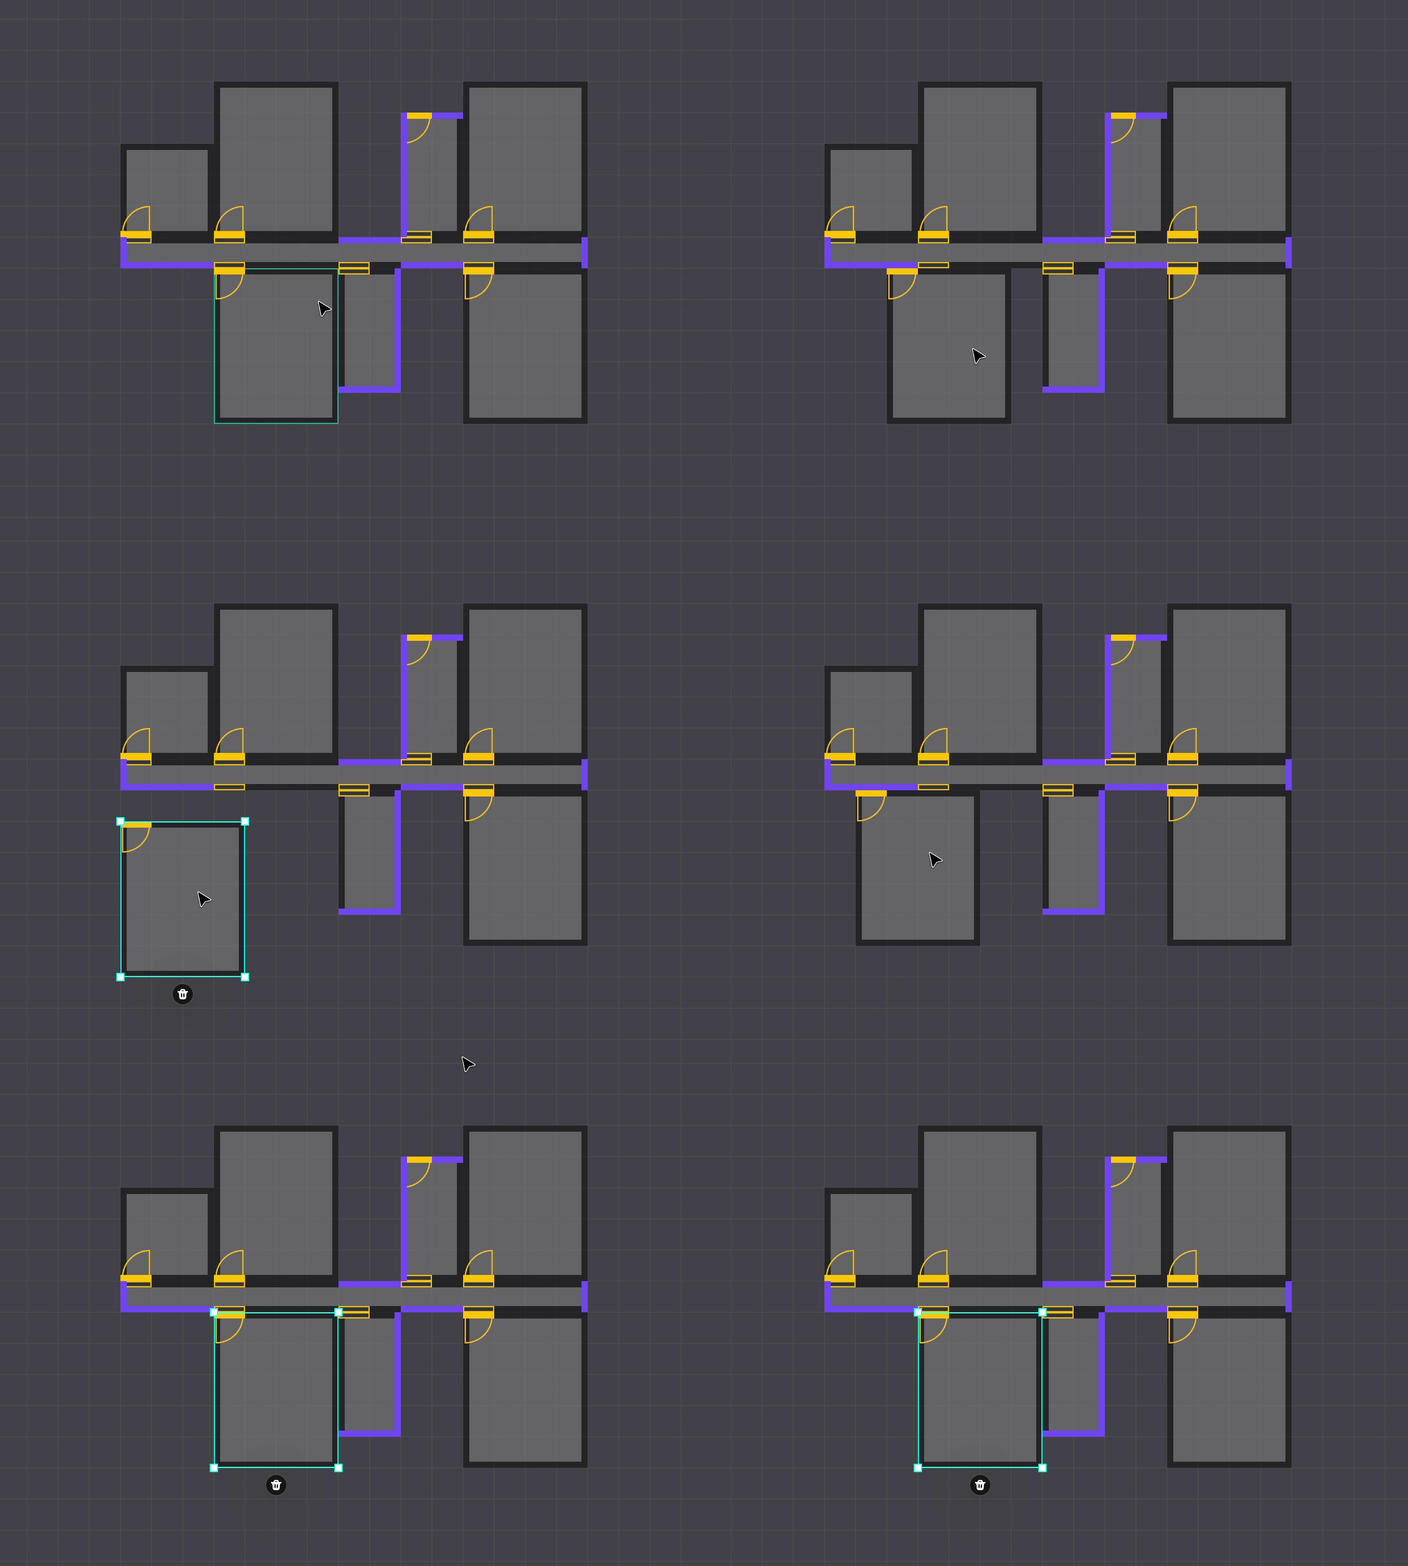
Click the edge of a room and drag it to resize the room.
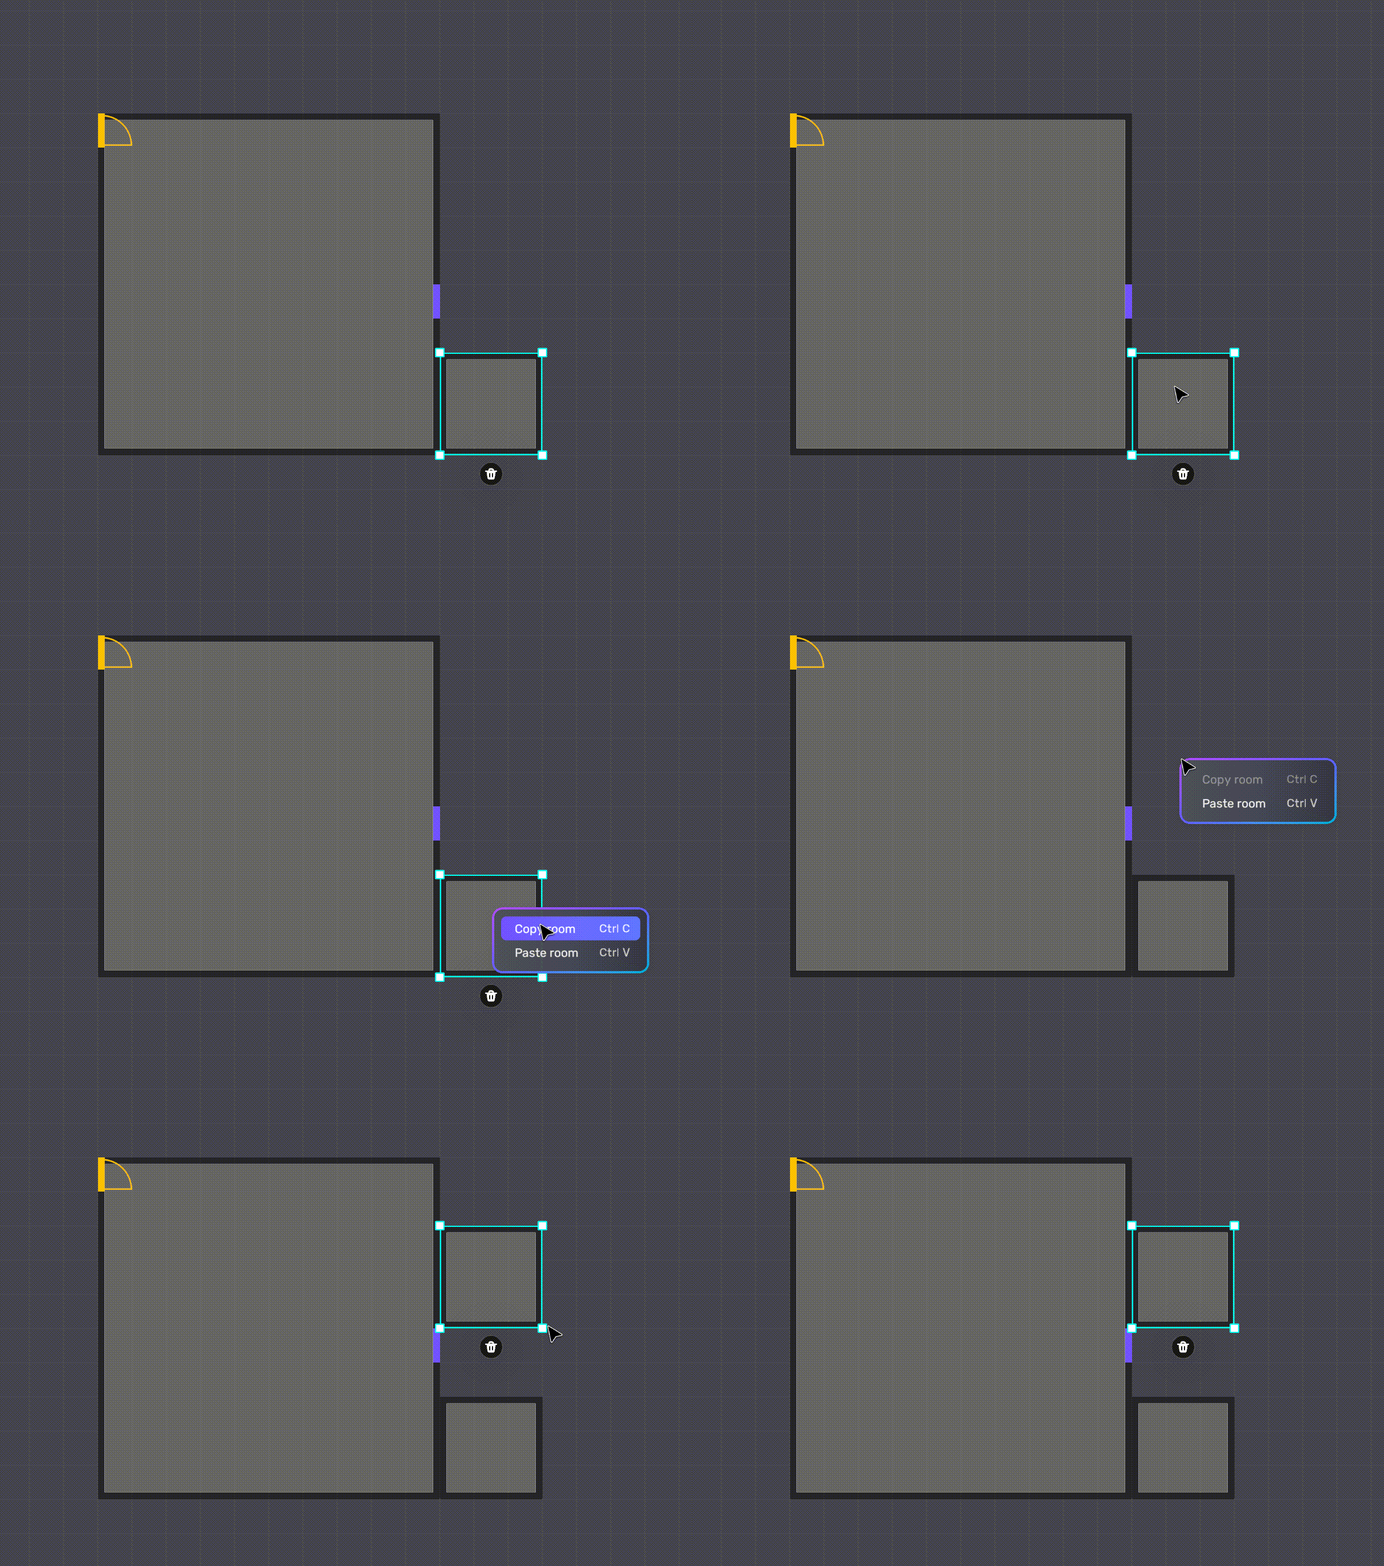
Copy and paste of rooms is supported now.
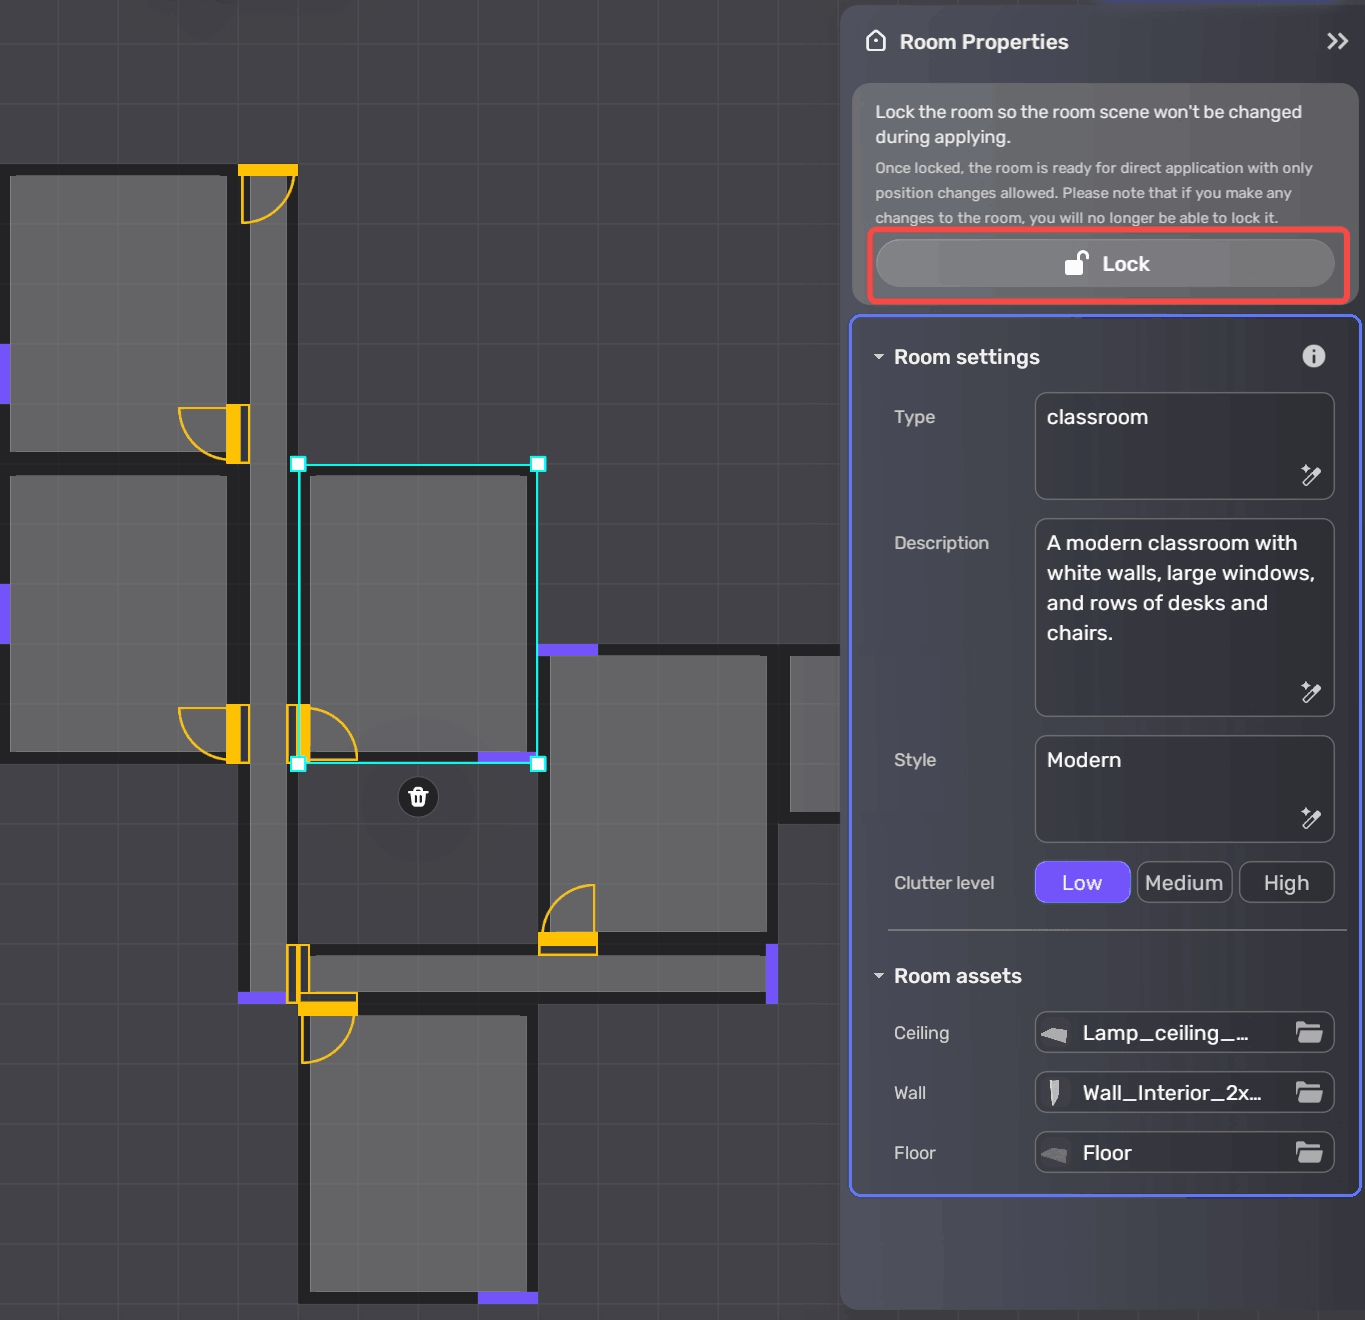
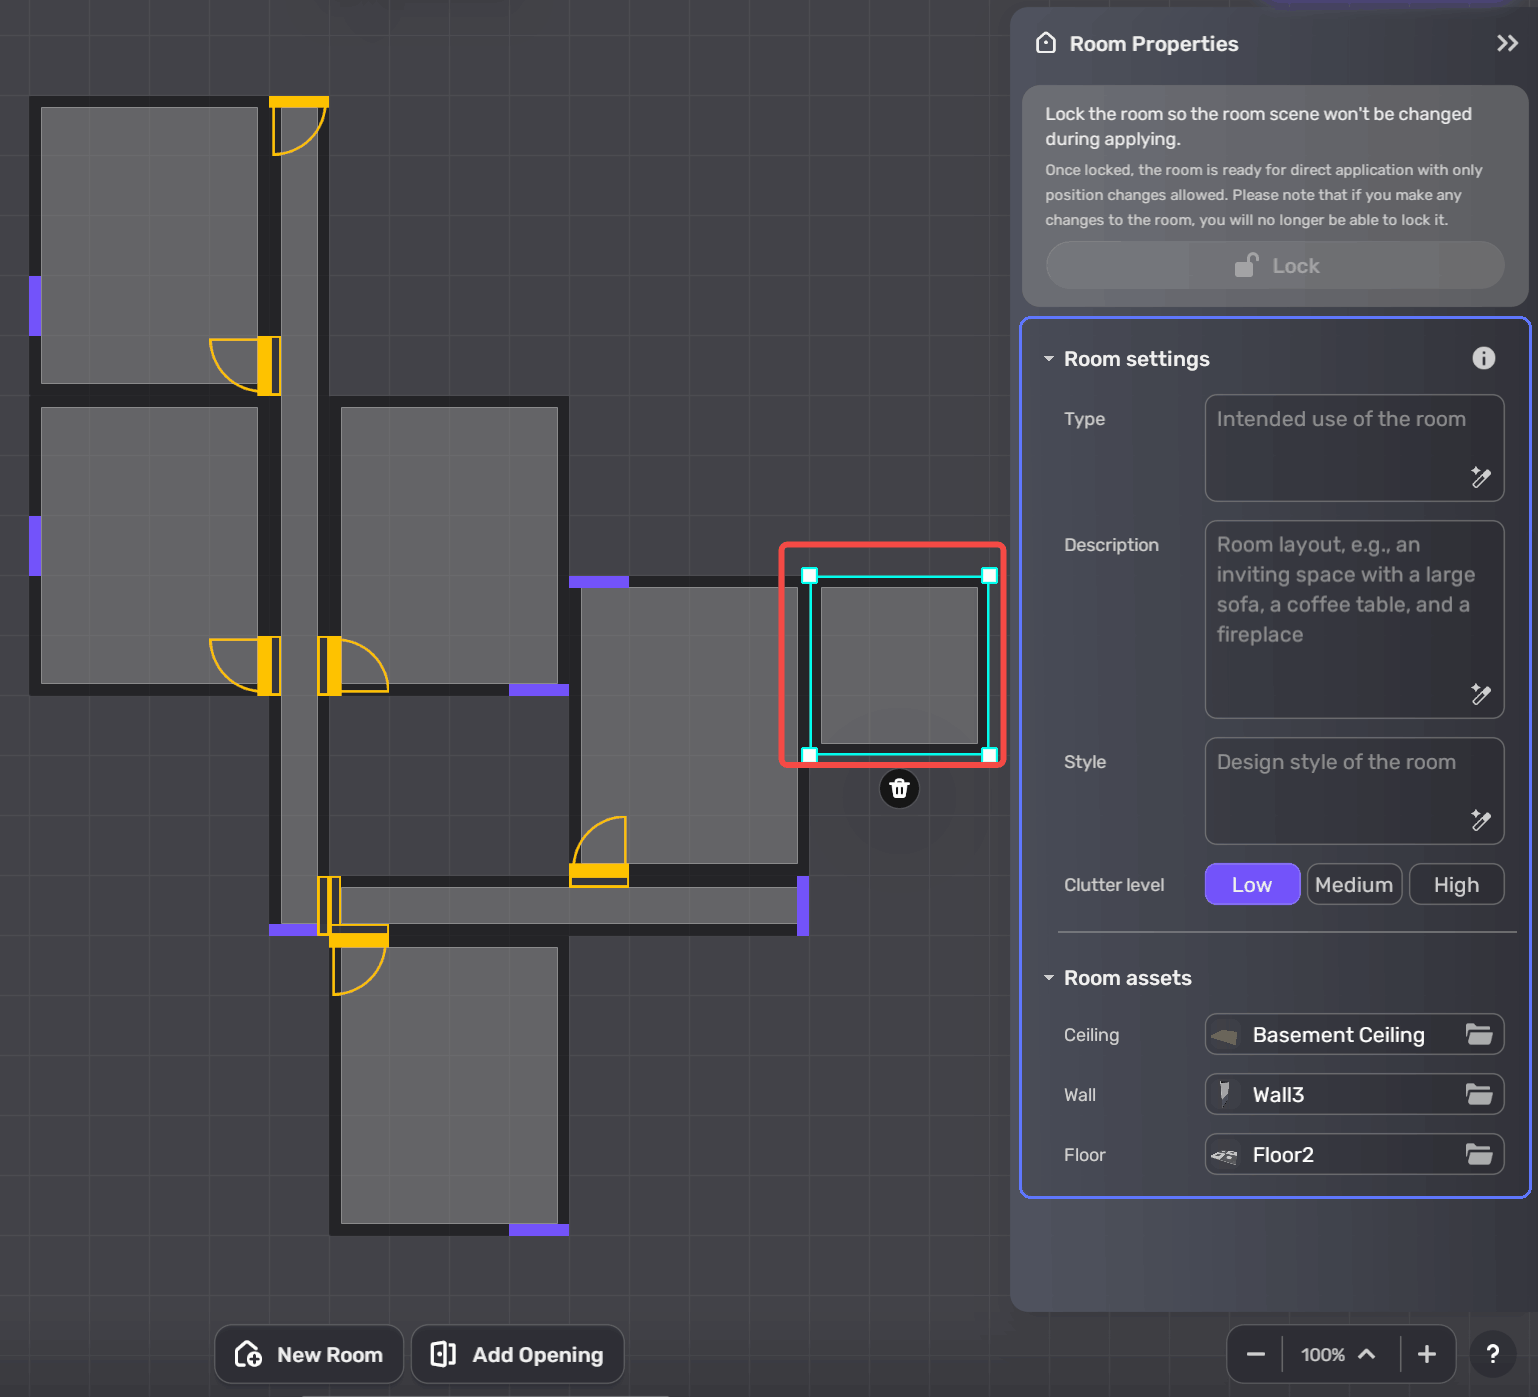
When you click a room, you can see the Room Properties window on the right side: On the top, you can click Lock to lock an existing room to prevent it from being modified. In Room settings, you can view and set the room type, description, style, and clutter level. In Room assets, you can choose the assets as you like.
- You can only lock existing rooms which are already applied to the scene. If you have added or edited a room, it cannot be locked until you apply it to the scene.
- You cannot edit a locked room, but you can move it.
Refer to the Add new rooms section for detailed instructions.
Stairwell
Stairwells are a special type of room. You cannot add a stairwell directly, but it is automatically generated when you add floors. It also has room properties to be adjusted.
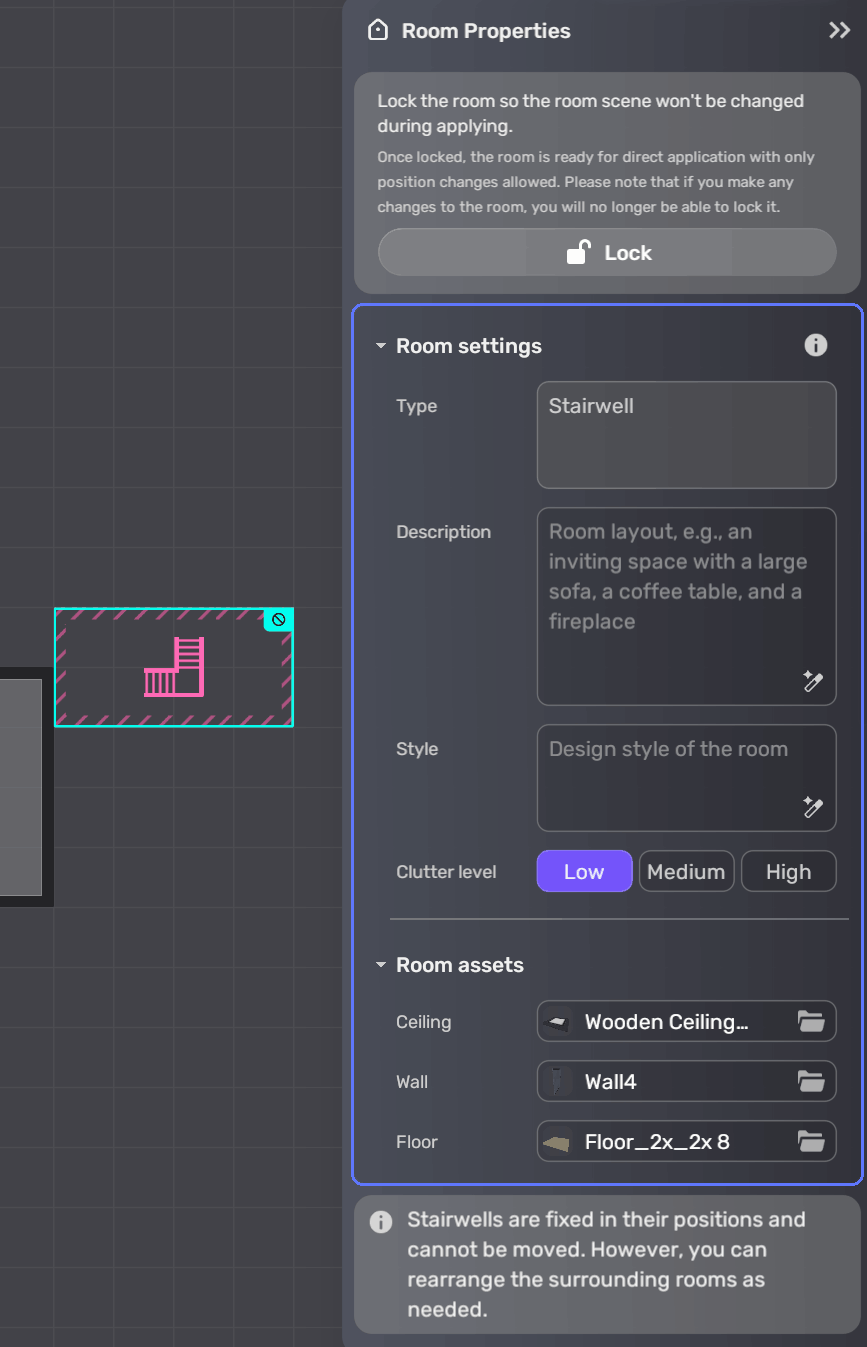
You cannot move a stairwell, but you can adjust rooms and add openings to connect to the stairwell.
Door
Clicking on a door will reveal three icons around it. The icon above is for flipping it horizontally, and the icon on the left is for flipping it vertically. Drag the door to change its position. To delete it, click the Delete icon below or use the Backspace key.
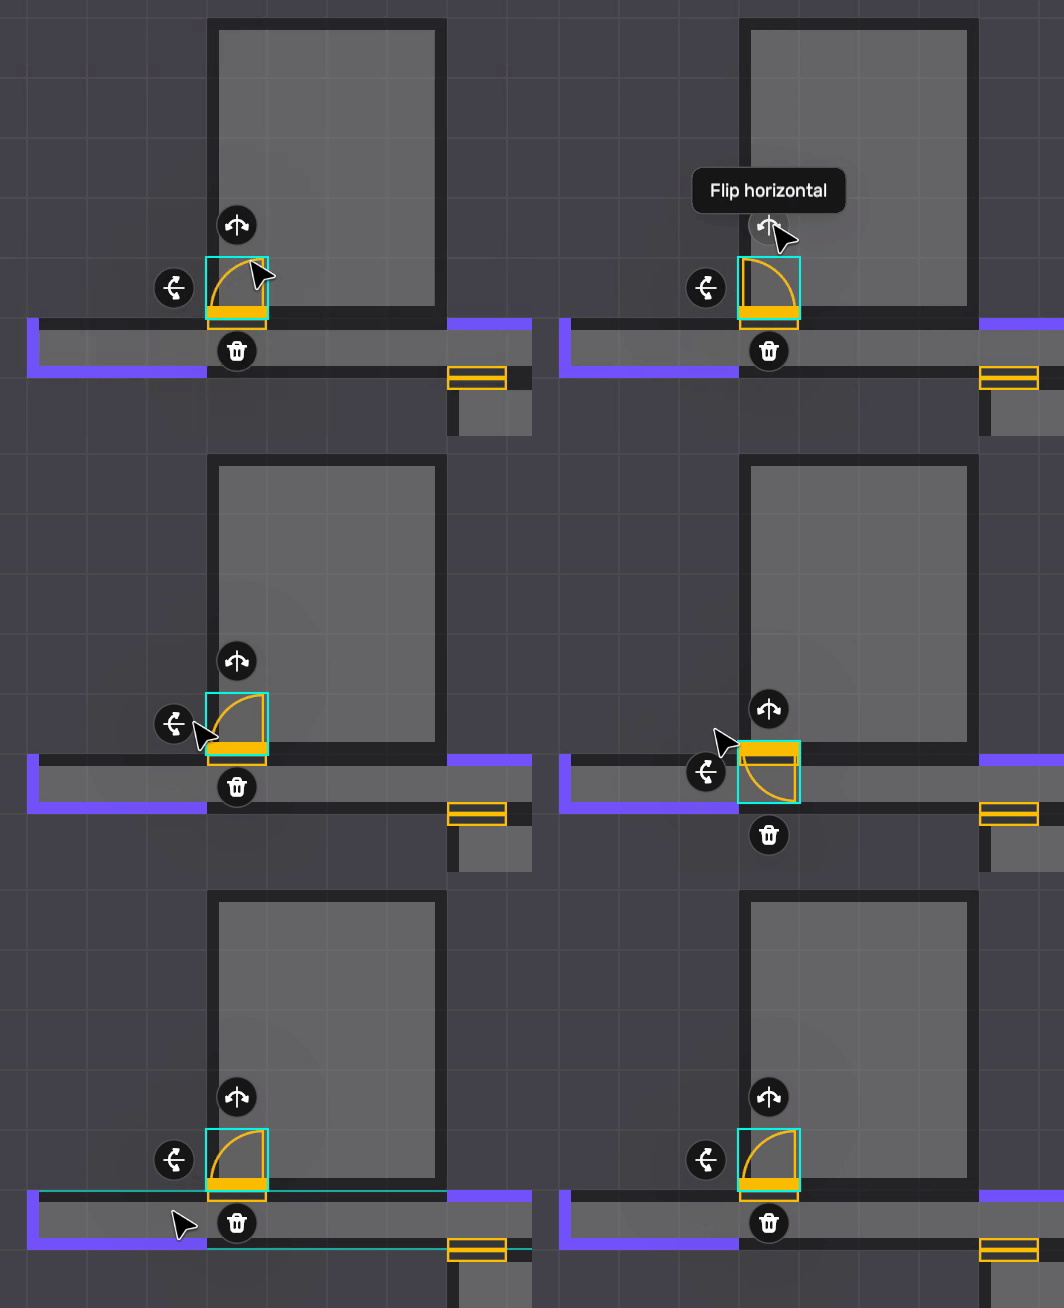
Doors can only be placed against walls and cannot overlap with other doors, doorways, or windows. Additionally, doors are one-way only. For example, as shown in the image below, a player can pass through the door from A to B, but not from B to A. If you want a two-way door, place doors on both sides.
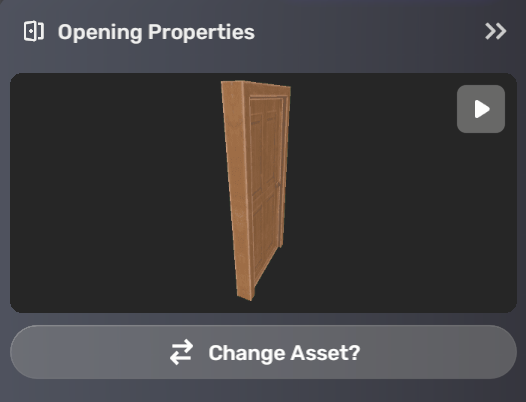
When you click on a door, you'll see its Properties window on the right side. This window allows you to change the door's appearance easily. Click Change Asset to select your desired door asset.
Doorway
Click and place the doorway in the wall to create a passage for the player. Doorways, like doors, cannot overlap with other assets. A Delete icon will appear when you click on the doorway.
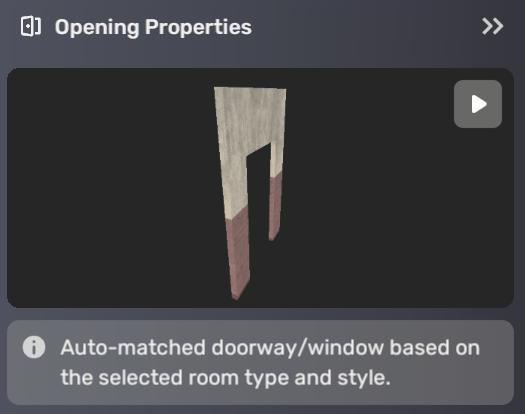
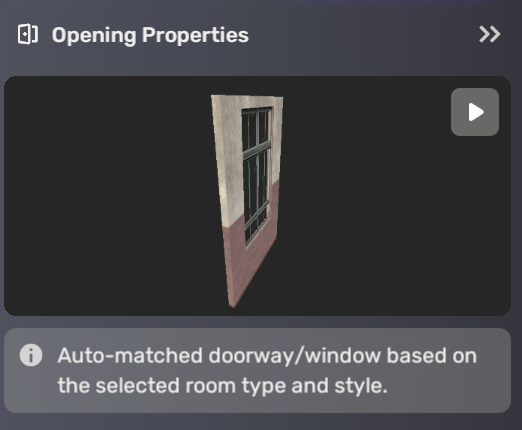
Since a doorway is an opening in the wall, it has no physical entity. You can preview the doorway's effect, but you cannot change the asset.
Window
Windows, similar to doorways, can only be placed in walls and must not overlap with other assets. To delete a selected window, click the Delete icon.
Please note that window assets are automatically matched based on the selected room type and style, so you can only preview their effect but cannot change the window asset.
Add new assets
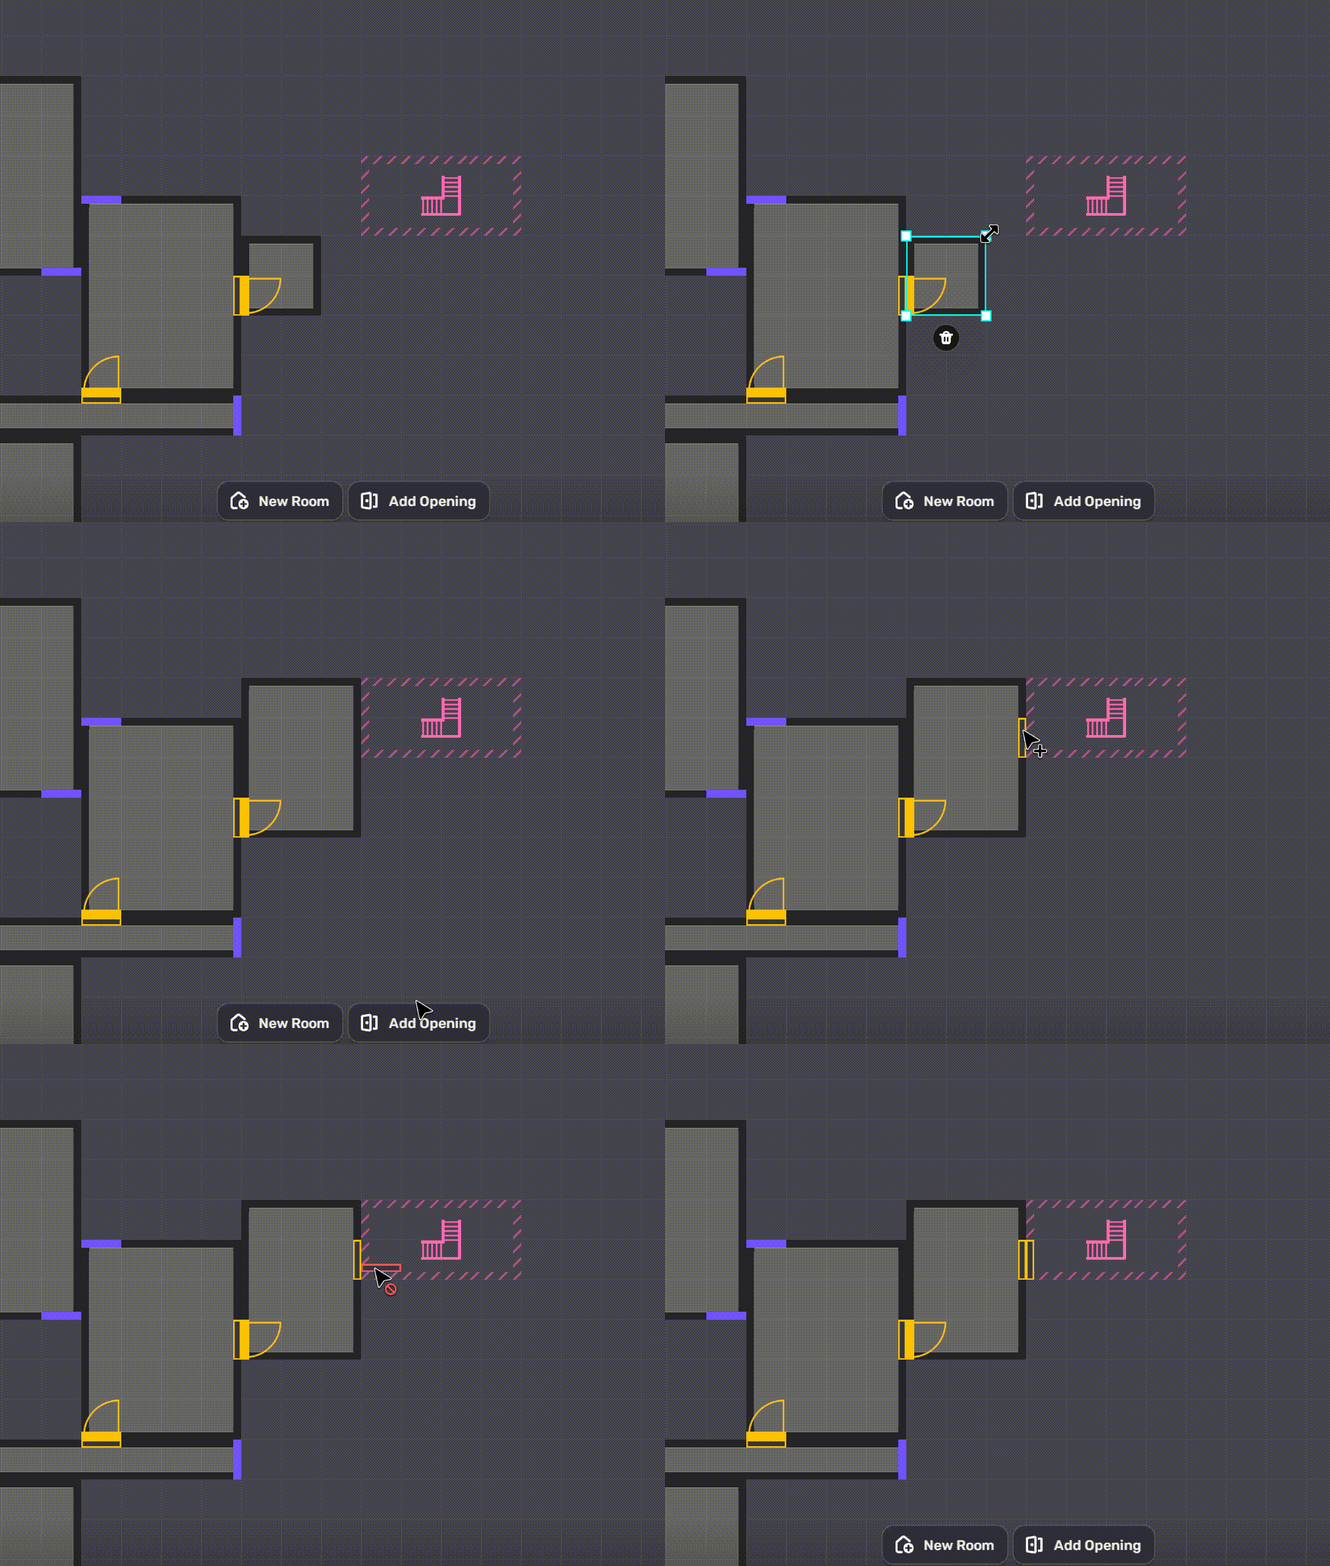
To create a new room, click the New Room button at the bottom of the Room Editor interface. To add doors, doorways, or windows, click the Add Opening button.
Add new rooms
-
Click the New Room icon, and a pop-up window will appear.
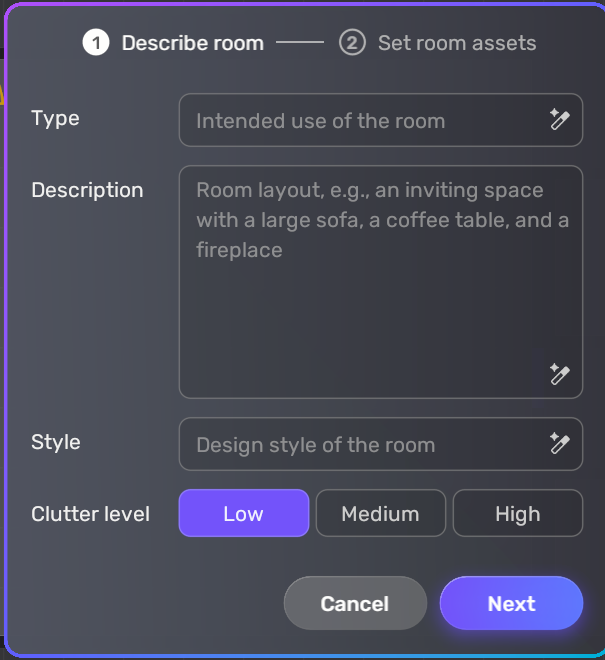
Property Description Type Enter the type of room you want, e.g. classroom, office, bathroom, bedroom. You can click the icon on the right to randomly generate a type. Description Enter some concrete prompt of the room. Click the icon on the right to randomly generate the description. Style Enter the specific style you desire for the room. Click the icon on the right to randomly generate a style for the room. Clutter level It determines the level of messiness of the room. From Low to Medium to High, the generated room becomes more complex and has more elements and details, but might go further from the prompts you enter. NoteThe room will be generated based on the settings you've made. However, you can leave the type, description and style empty to get an empty room.
-
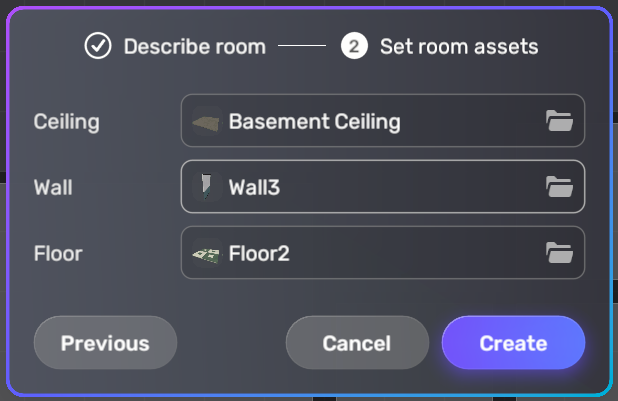
After the first step of Descirbe room, click Next to set room assets. Then, select the models for the ceiling, walls, and floor from the available options which are provided based on the room type and style you've set.
-
Click Create after choosing all three assets to generate a new room. Click Previous if you want to go back and change the room settings. If you don't want to create the room anymore, click Cancel.
-
Your newly generated room will then appear on the interface! Please note that the default room size is 3 × 3 meters, and new room is usually generated to the right of existing ones by default.
Add opening
-
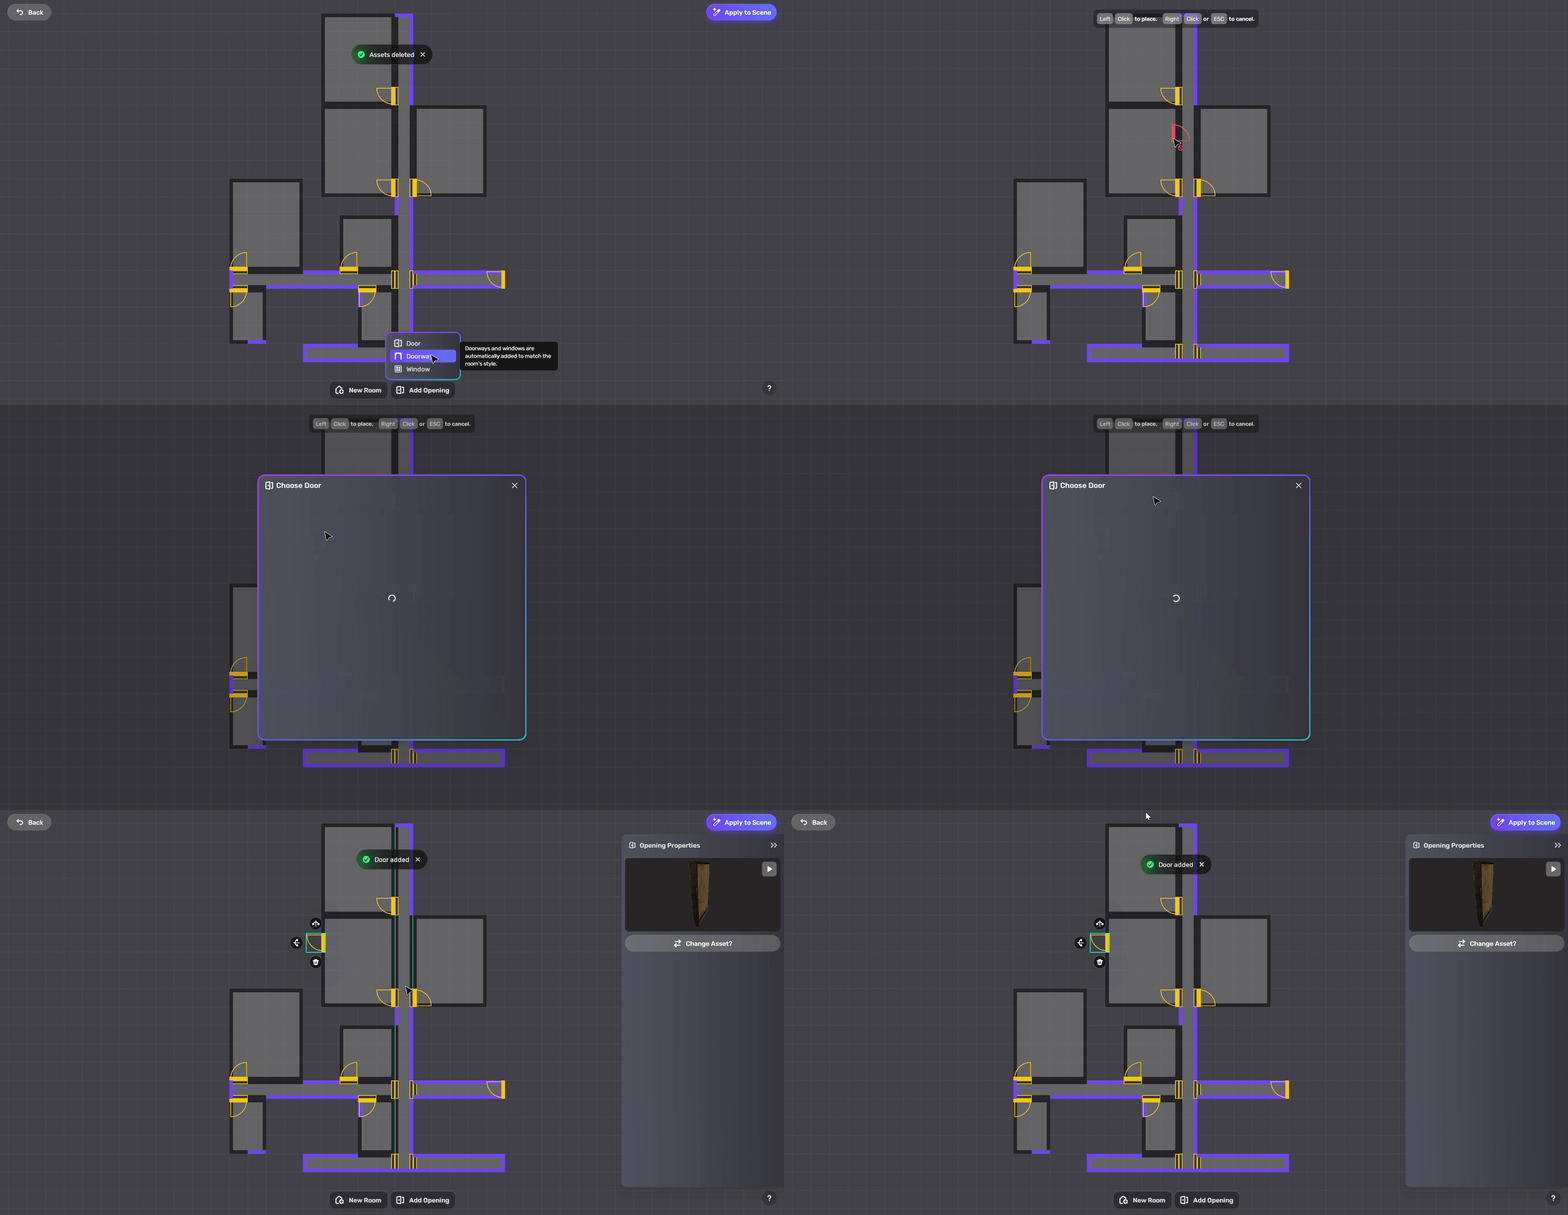
Click Add Opening to add three types of opening assets: doors, doorways, or windows. For doors and doorways, you can select from wide and narrow ones.
 Note
NoteWide doors and doorways are only compatible with certain wall models. To change the wall model of rooms, click the room, go to Room Properties > Room assets, and click the folder icon of Wall.
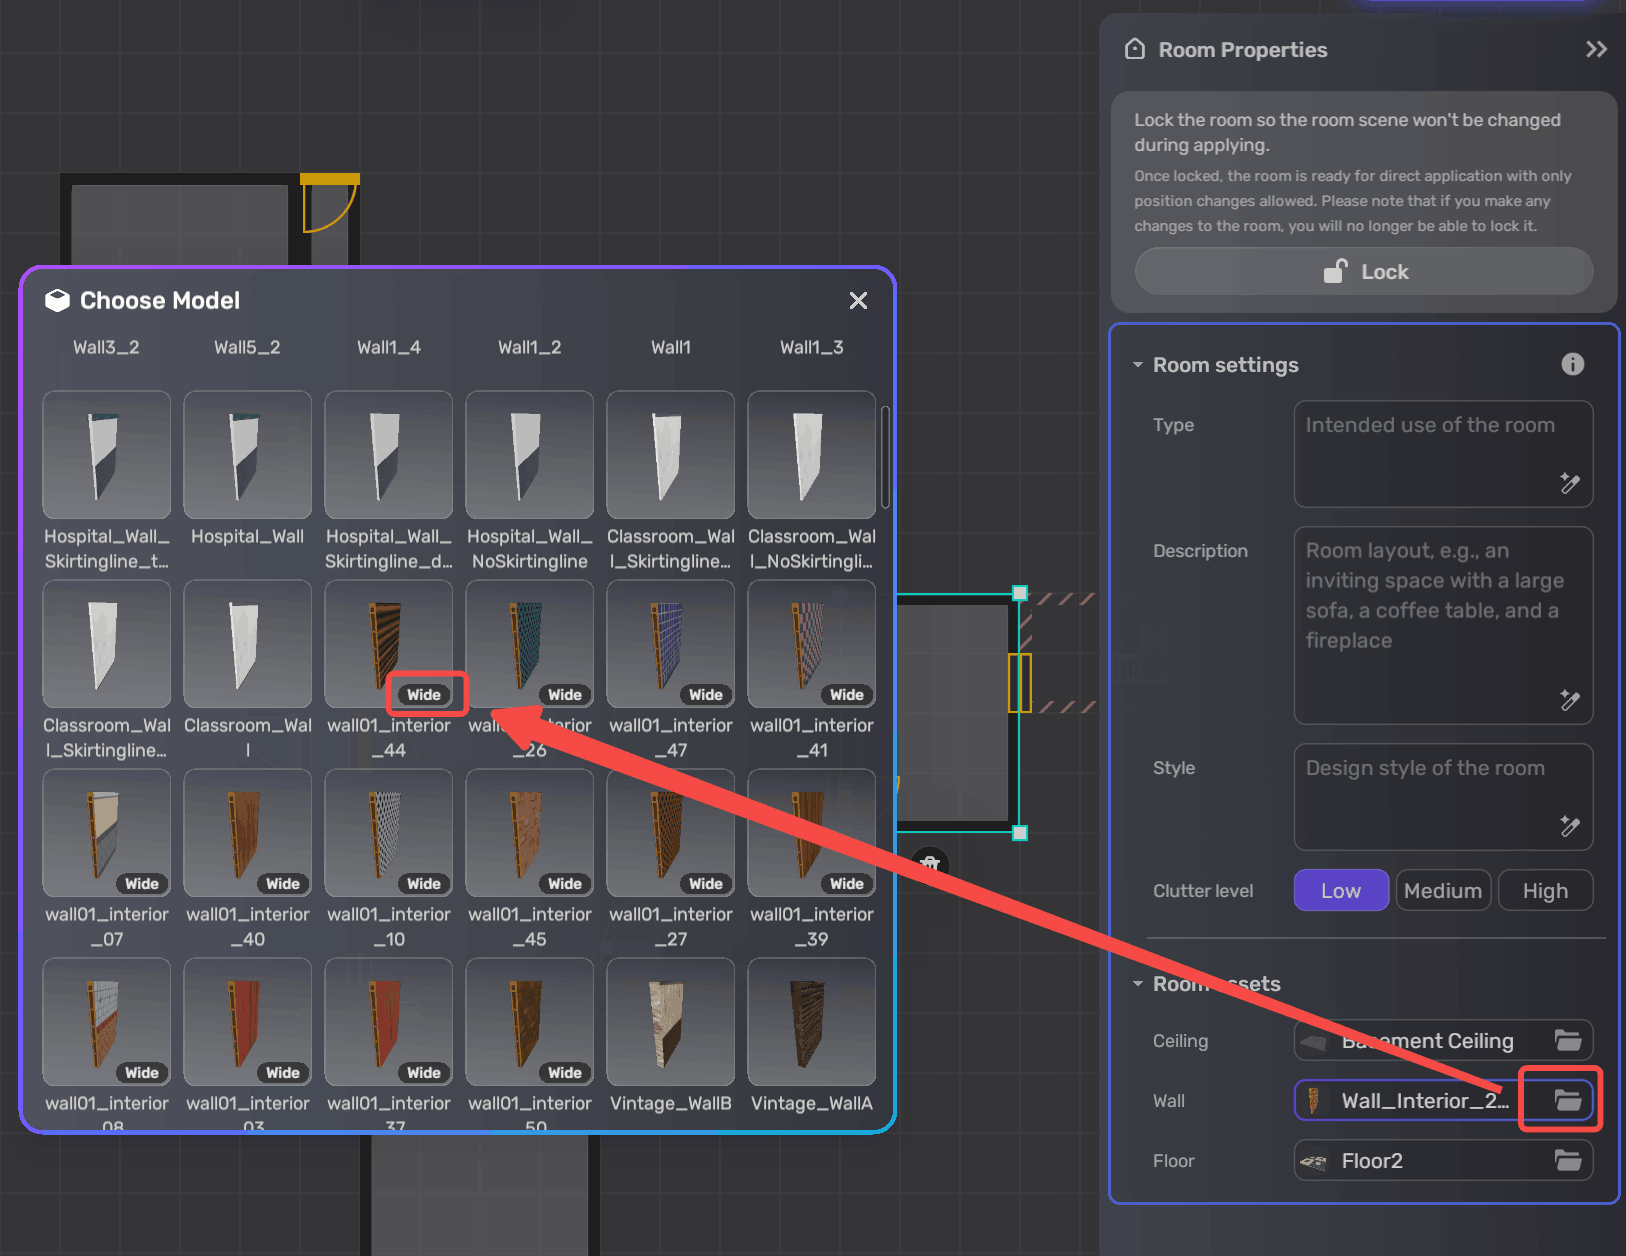
-
Place the asset in a valid position. If you choose to add a door, you need to additionally select a model after placing it.
