Get started
This section contains tutorials on using Yahaha's game kits to build common gameplay features.
Kits don't restrict game types—choose by players, perspective, and atmosphere. Each includes prebuilt systems and customizable components for all skill levels.
Choose which game kit to start with

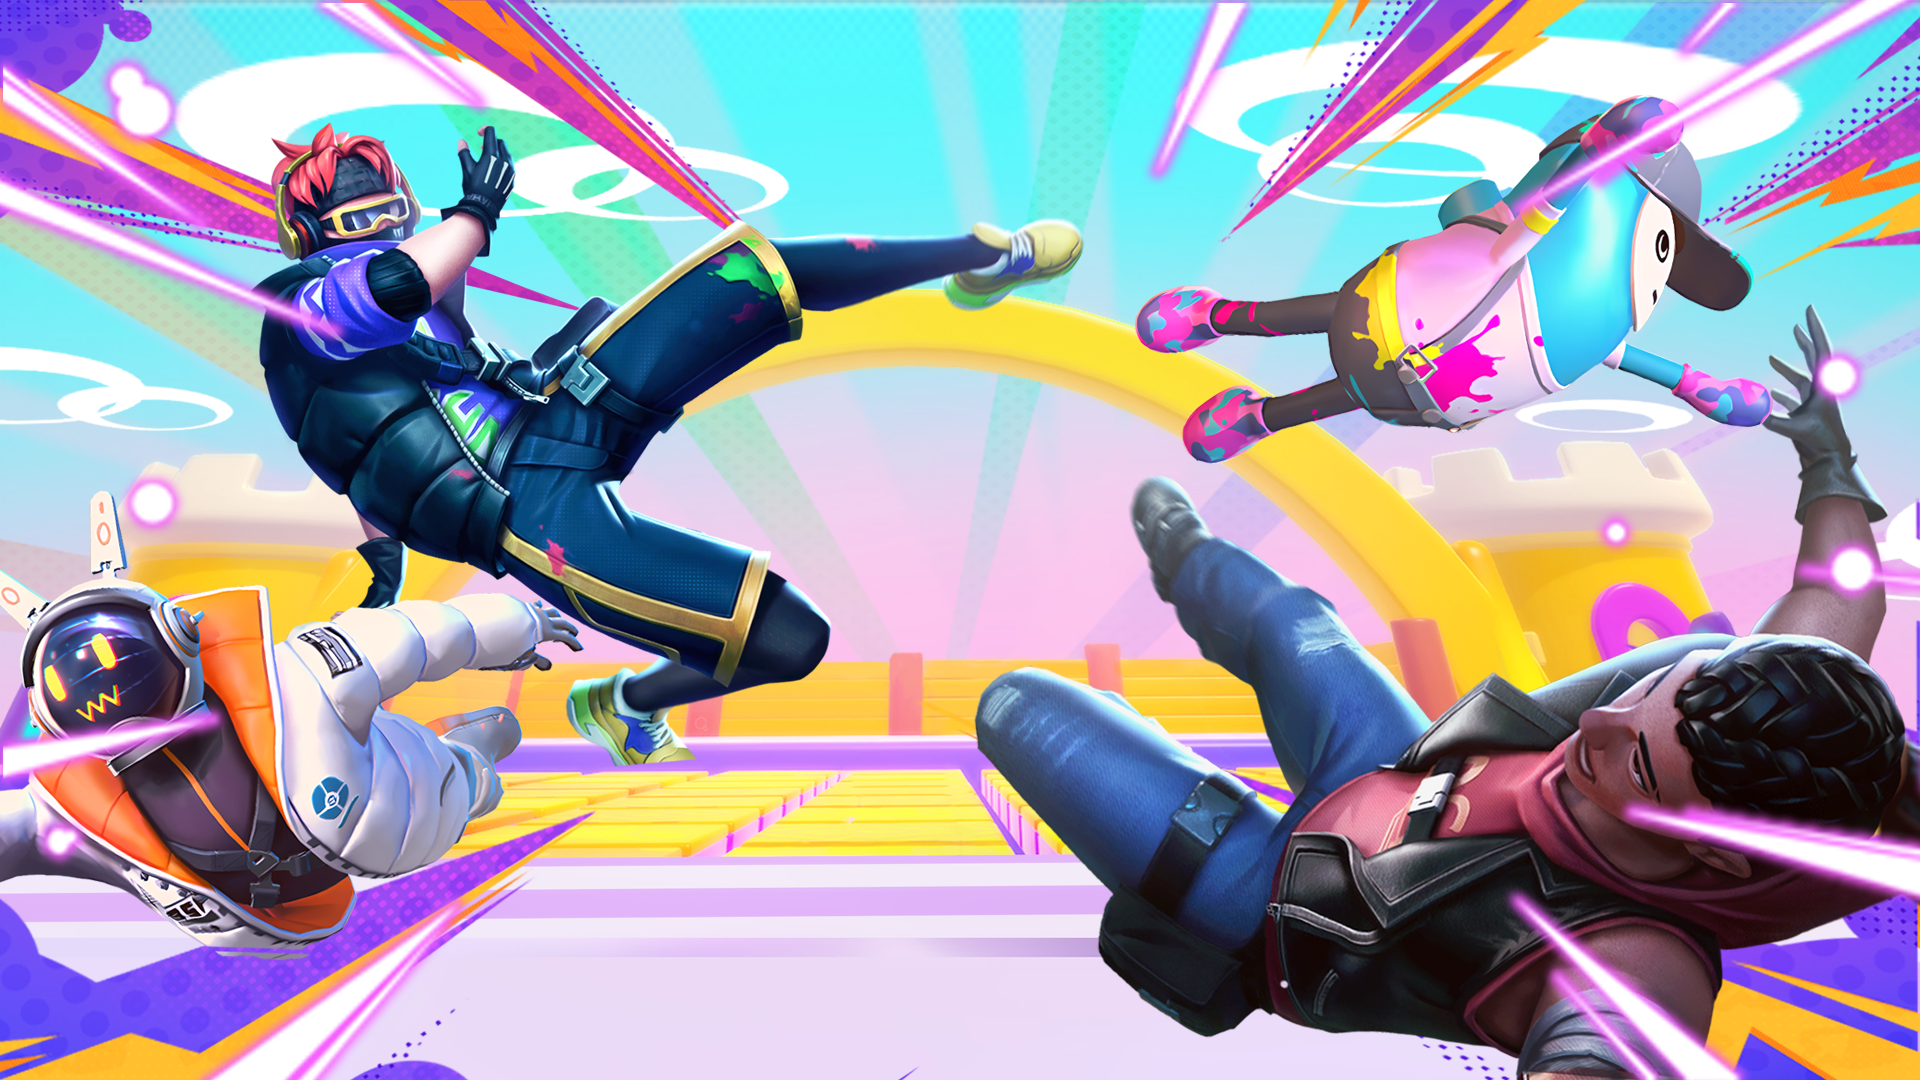
Party Game Kit
Supports single/multiplayer games with flexible perspectives. Generates bright natural AI landscapes. Includes interactive platformer and jumping mechanics. Versatile across game types.
Horror Game Kit
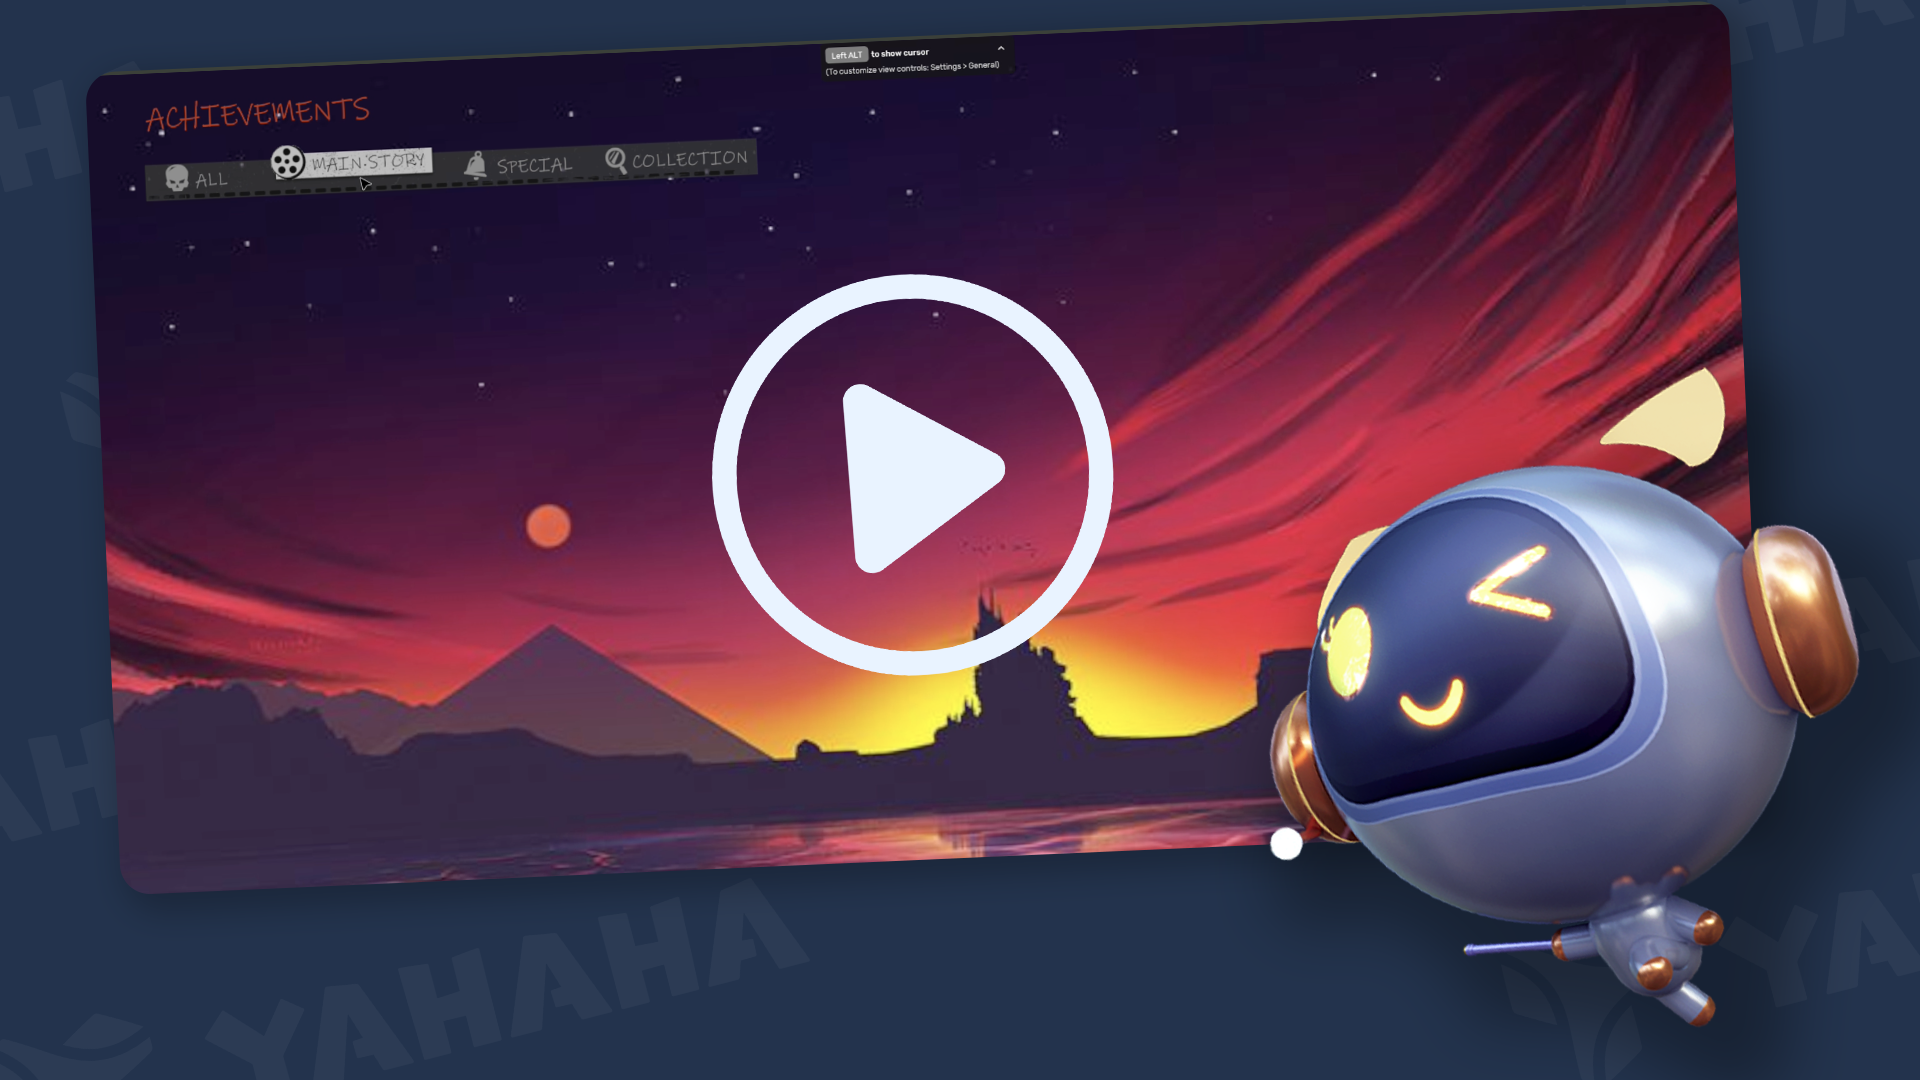
Designed for single-player, first-person games with atmospheric storytelling. Features dark indoor and outdoor AI scenes, cutscenes, jumpscares, and puzzles. Adaptable beyond horror genres.
Party Game Kit 🥳
use case tutorials to work with kit features
Samples & Assets
Create different types of games: Item collection, Racing, Item collection, Zombie shooting, Monster hunt, 2D-platformer-level; Learn Models, Materials, Decals, Audio, Effects, Sky, Character, and Animations.

UI
Learn to create UI. Coming soon.
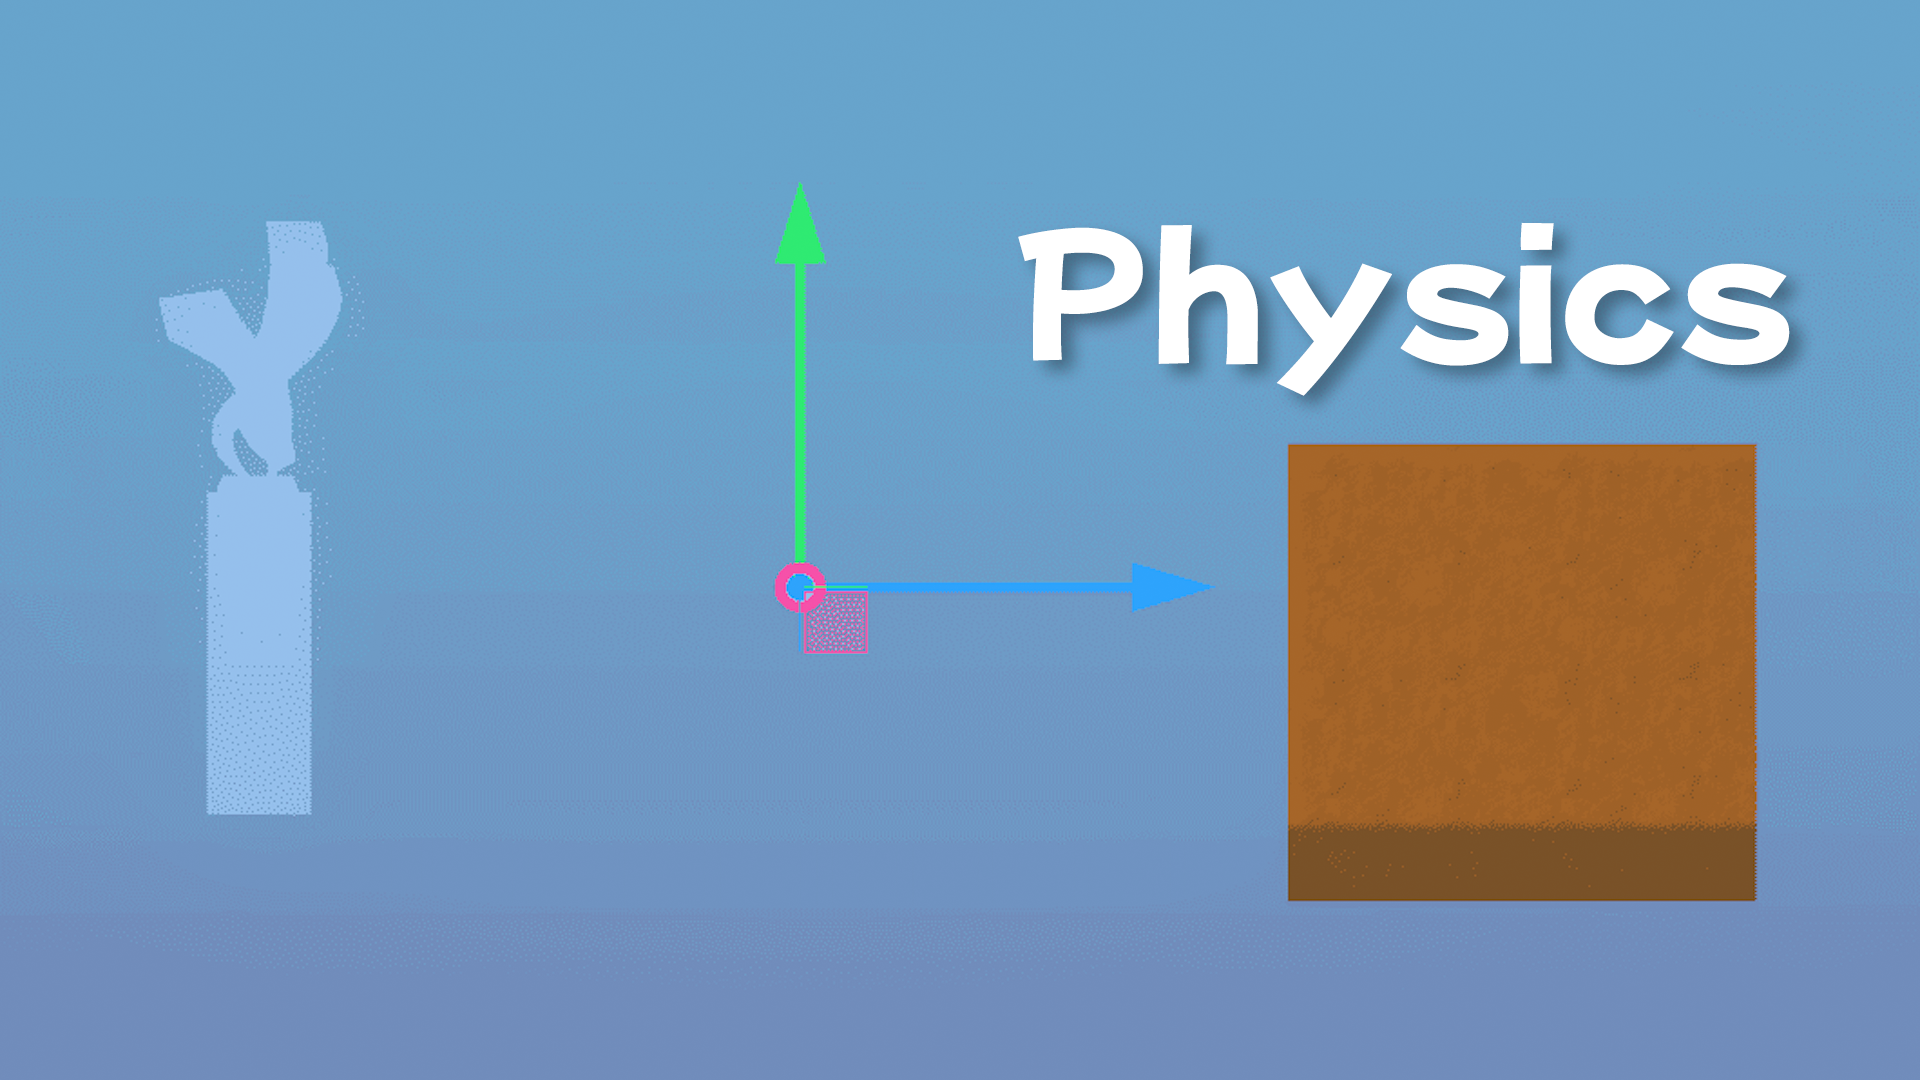
Physics
Detect entities using overlaps or raycasting.

Codeless logic
Build assets with gameplay logic using components, smart assets, or assemblers. For example, create a weapon, a rotating circle, a drivable vehicle, loot drops, gameplay objects, the Hex-A-Gone game, and the Jump to Space game.
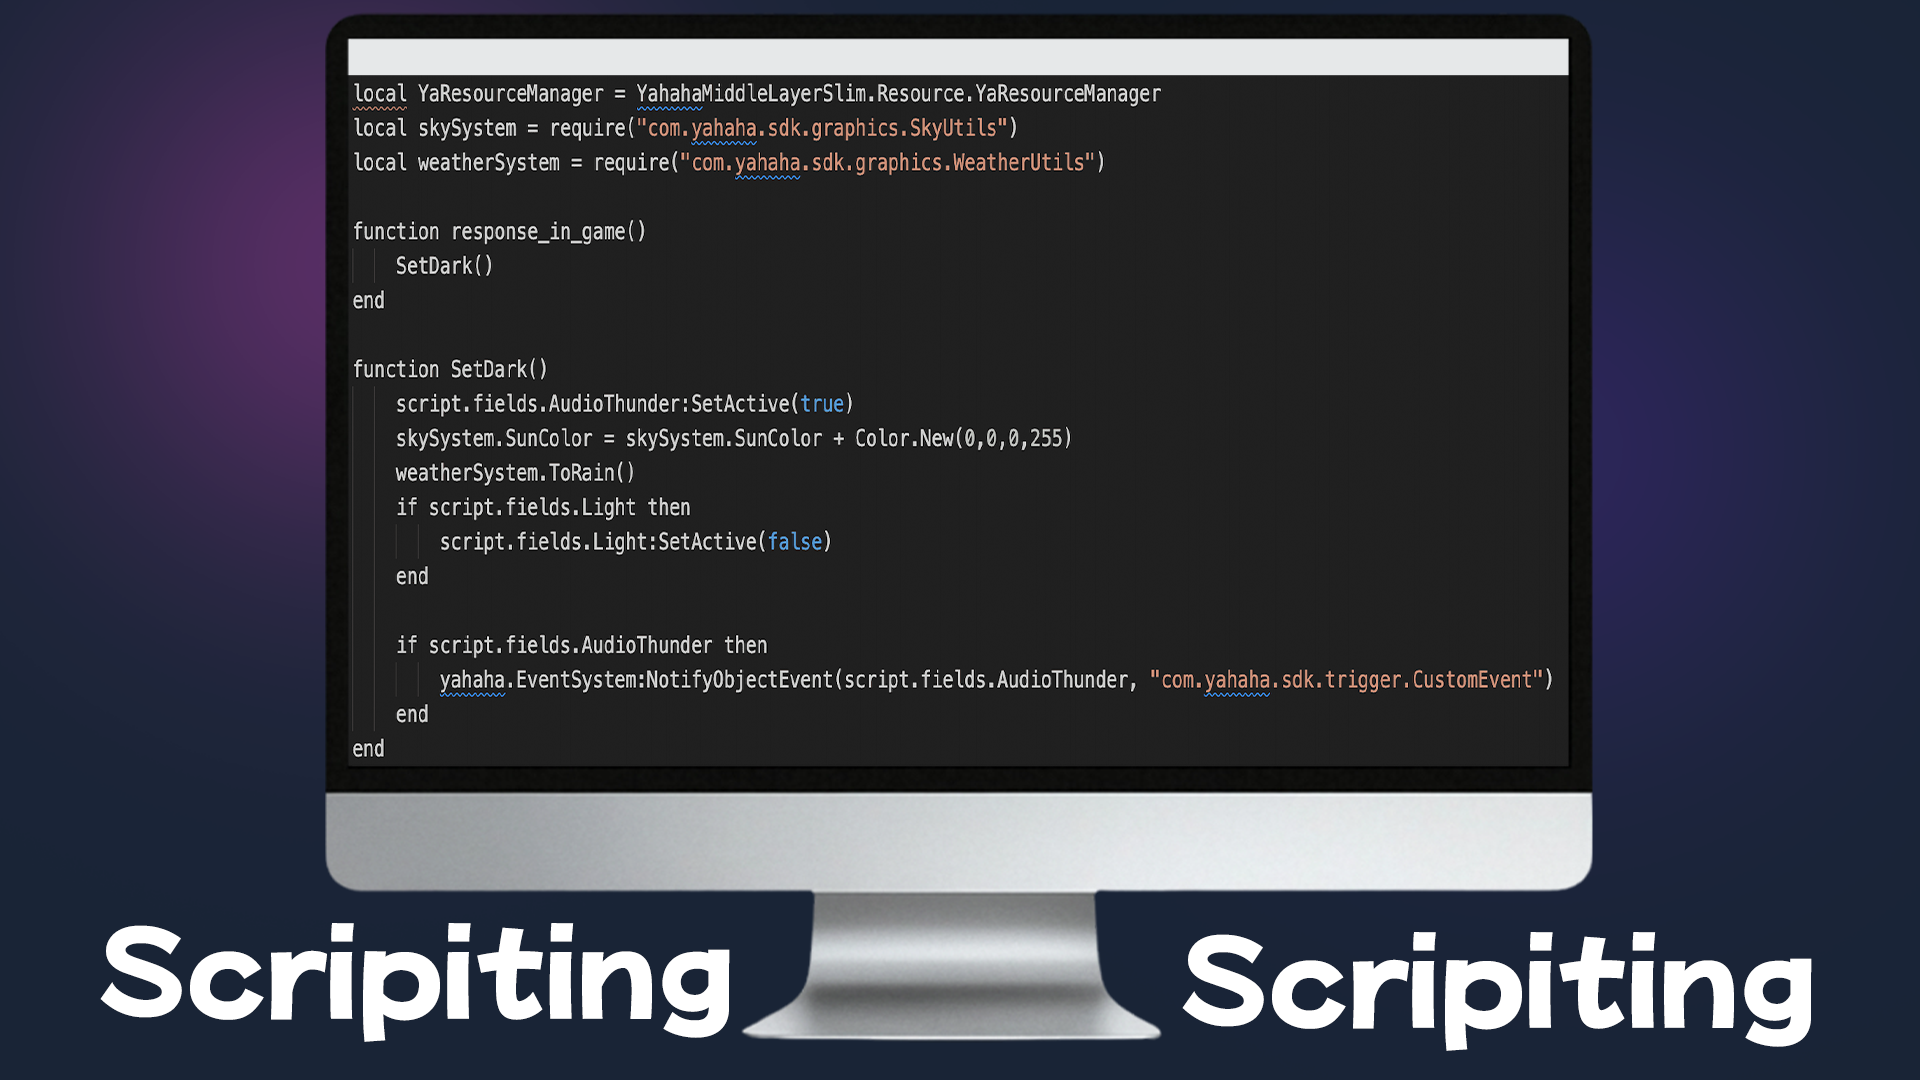
Scripting
Use Lua scripting and visual scripting to customize your gameplay. For example, manage inventory system and spawn an object using a node graph.
Horror Game Kit 👻
use case tutorials to work with kit features
Game Samples & Assets
Game sample, Models, Audio, Effects, Sky, Animations, Materials, Decals and Character.

Camera
Learn camera perspectives. Coming soon.
Physics
Learn 3D physics. coming soon.

Codeless logic
Build assets with gameplay logic using components and smart assets from packages. For example, create collection-triggered door.
Scripting
Use Lua scripting to customize your gameplay. For example, script a countdown timer countdown event and a weather event.
Make a game using a template
Learn how to create, edit, and publish a project using a project template. This will provide you with a basic introduction to the Yahaha creation experience.
Prerequisites
- Download YAHAHA installer and install it. This allows you to download Desktop, Studio, and Launcher at once.
Setting up an account
You need a YAHAHA account to sign in to your YAHAHA Desktop. To create a YAHAHA account:
- Visit the signup page.
- Provide your birthday to check whether you are eligible for YAHAHA. You must be at least 16 years old to have a YAHAHA account.
- Provide your email to sign up with and input the code you receive.
- Provide your nickname and password, and select your user role.
- Choose your preferred avatar.
- Then read the YAHAHA Terms of Use and Data Policy through and check the box if you agree to them.
- Submit the provided information and your account is created successfully.
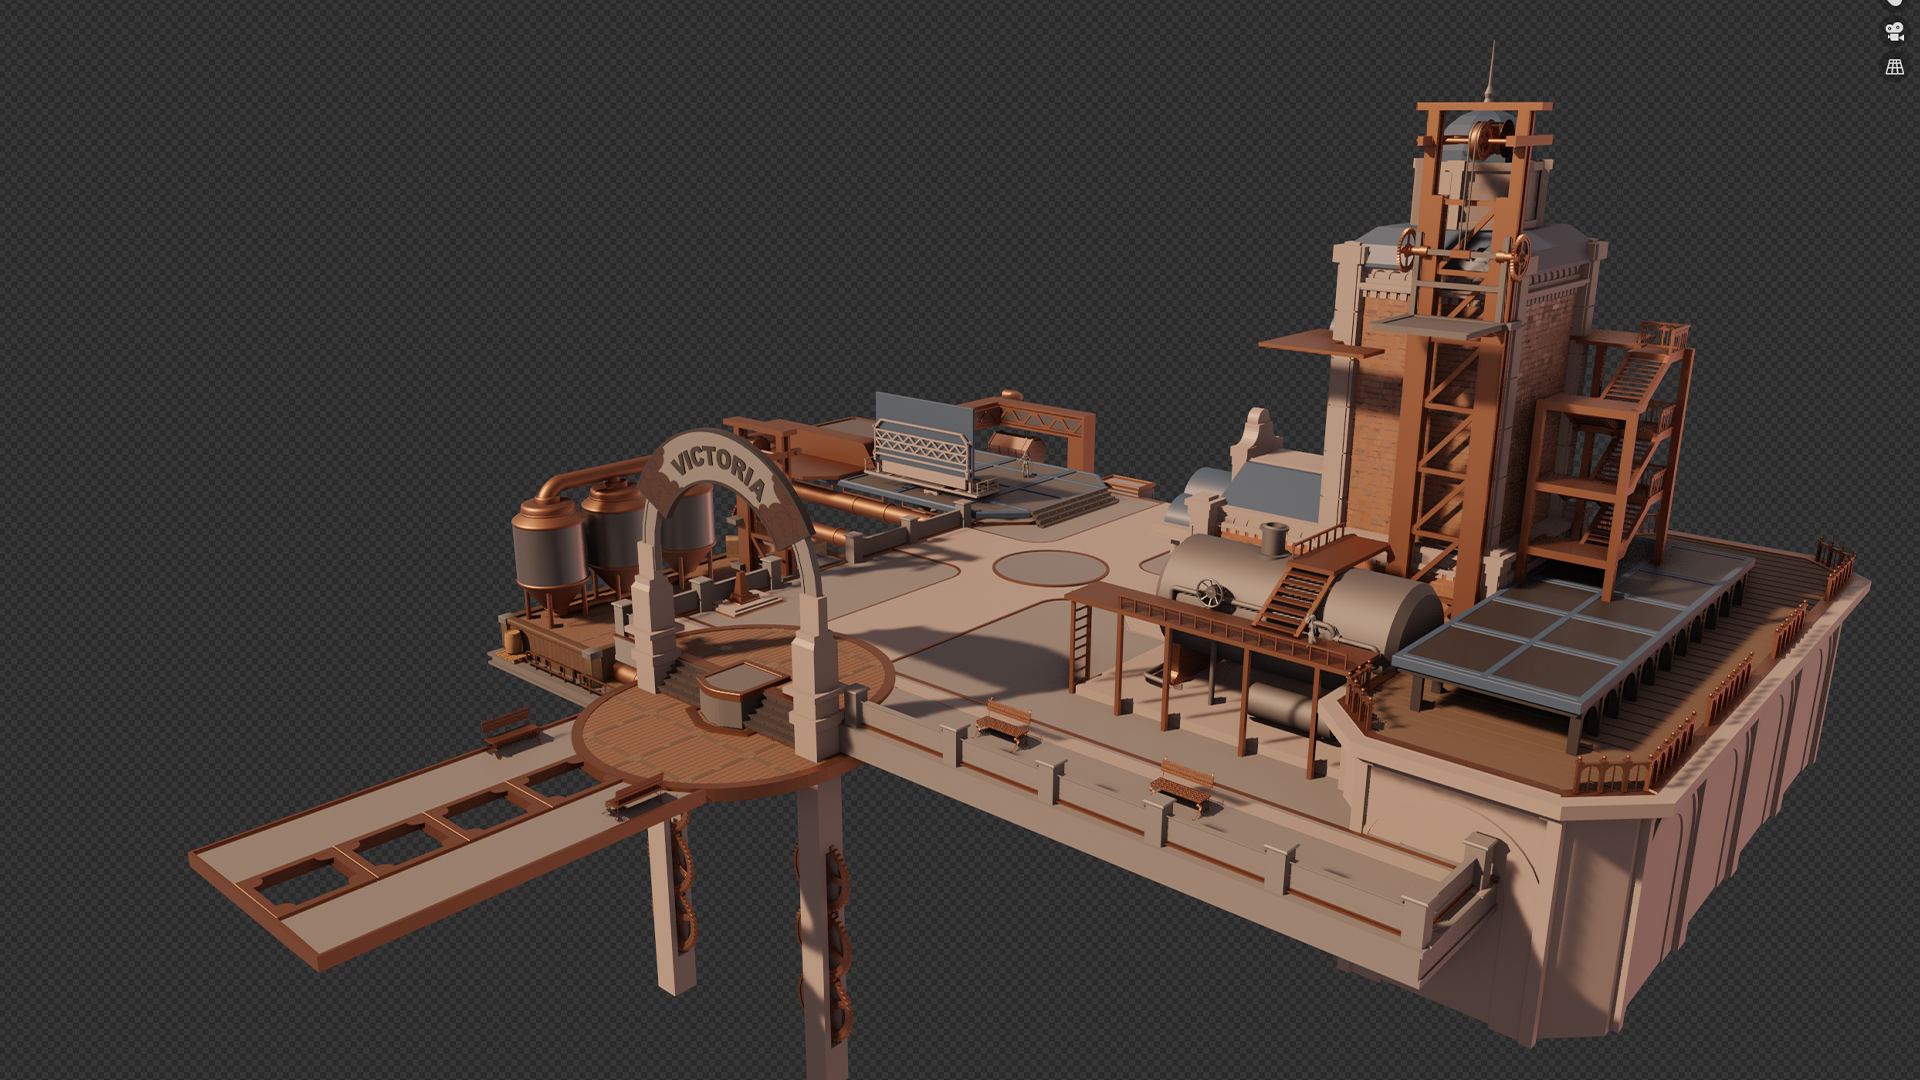
Creating a new project based on a template
In this tutorial, the Suntail Village Base template from Party Game Kit is used as an example project template.
To create a Project using the template, follow these steps:
-
On Desktop, click the Party button located in the top left corner.
-
Go to the Create tab, then select Projects > Party Game to begin choosing a template.
-
In the pop-up window, select Art Template, locate the Suntail Village Base template, hold the pointer over it, and click Use Template to create a project.
Exploring the scene
You can explore the scene by pressing W, S, A, D, Q, E. To familiarize yourself with the template, you can explore the scene in Play mode by choosing the Play icon at the right top corner.
Working with assets
-
Get a bridge from Asset Library.
To run across rivers in the scene, you need a bridge from Asset Library, where you can find various bridges. Hold your point over a bridge your like, and click View in scene to try it in your scene.
-
Place the bridge over the river appropriately. Select the bridge in Explorer or the scene and take the bridge to the river using the Grab tool.
-
Adjust the bridge to suit the river.
The bridge may be too small or big to match the river, so you need to adjust it by using the Move, Rotate and Scale tools. Before you start, press F to focus on the bridge, which makes your adjustment easier.
Switch to the Move tool to put the bridge over the river. Compared to the Grab tool, the Move tool allows you to move the bridge precisely. You can try to press WASDQE to change the camera view.
Switch to the Rotate tool to rotate the bridge appropriately.
Switch to the Scale tool to scale the bridge. Tips: You can get an overall scale by using the small ball in the center of scale tool.
-
Duplicate the bridge.
Select the bridge by right clicking the bridge from the scene or in Explorer and choose Duplicate. Or you can duplicate it using the keyboard shortcut Ctrl+D in Windows or Command+D in Mac. You can put the duplicated bridges wherever you like.
Creating your terrain
-
Create a hill by using the Raise tool on the Terrain tab.
-
Add a road to your scene via the Paint tool. If you don't like it, you can erase it by holding Shift.
-
Plant trees on the terrain using the Decorate tool.
-
Enable the ocean using the Sea level tool.
Choosing a piece of background music for your project
To add background music to your project, choose General in the Settings Explorer and select an audio file in the pop-up window. Try these music clips out and choose the one you like as your BGM.
Moving the spawn point
Find the spawn point from the scene or in Explorer and move it to wherever you want to spawn your avatar.
Playtesting the scene
Let's enter Play mode to wander in the scene you just created.
Saving your scene
When you finish creating the scene, save it by choosing Save in the menu or using the hotkey Ctrl+S in Windows or Command+S in Mac. After saving the scene, you can manage the saved project via Create>Projects in Desktop.
Publishing your project
-
In Desktop, find your project and click Publish.
-
In the Space Info window, enter your space information, including name, max players, screenshots, tags, loading pics, loading tips, and description. Then click Publish.
Once done, you can find and play your game in the Yahaha community by going to Explore on Desktop.
If you want to export the published game as a ZIP file so you can release it on more platforms, find it in My Spaces on Desktop, click the menu icon and select Export space to start exporting. For more on exporting and monetization, see Publishing your project and Creator portal.